
How To Get Started Building Your Adapter
Get started on building your first Open Connect adapter
To begin creating an Open Connect Adapter, you will need a Chain.io Workspace to generate an API key as well as to test your adapter. If you already have a Chain.io Workspace, you can skip this section.
If you do not have a Chain.io Workspace, you will need to obtain one by sending an email to [email protected] with the following information:
- Your full name
- The name of your Organization or Company if applicable
- Desired Workspace Name (if not provided, your Company or Organization name will be used)
- Your email address
- Phone number
Once we receive the email you will get an invite to a Workspace with your desired workspace name, in the Chain.io portal, within a 24 hour period.
Your invitation (example below) to your Workspace will include a link to register your account and setup your MFA. Once you have completed these steps you will be able to log in to the Chain.io portal.
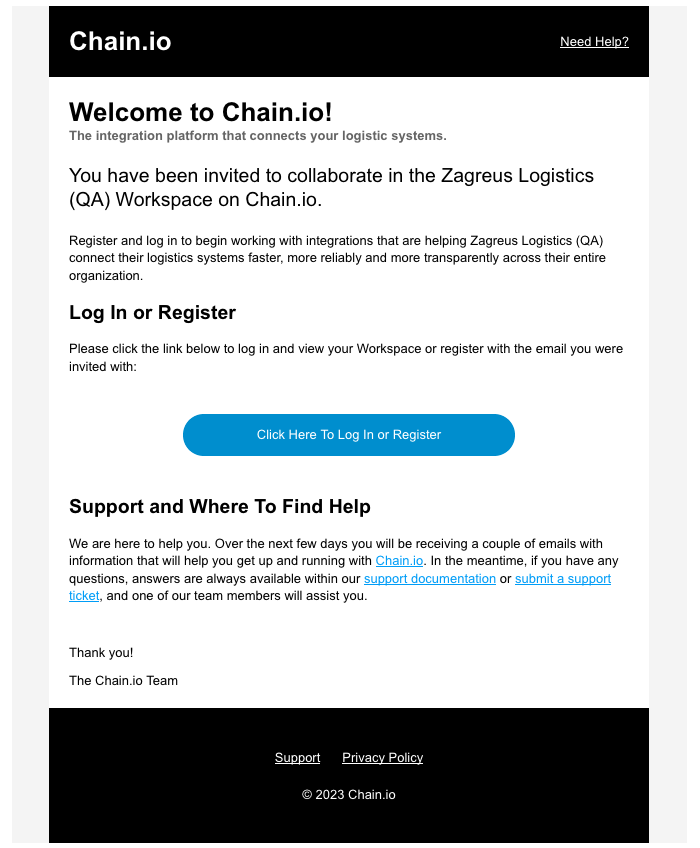
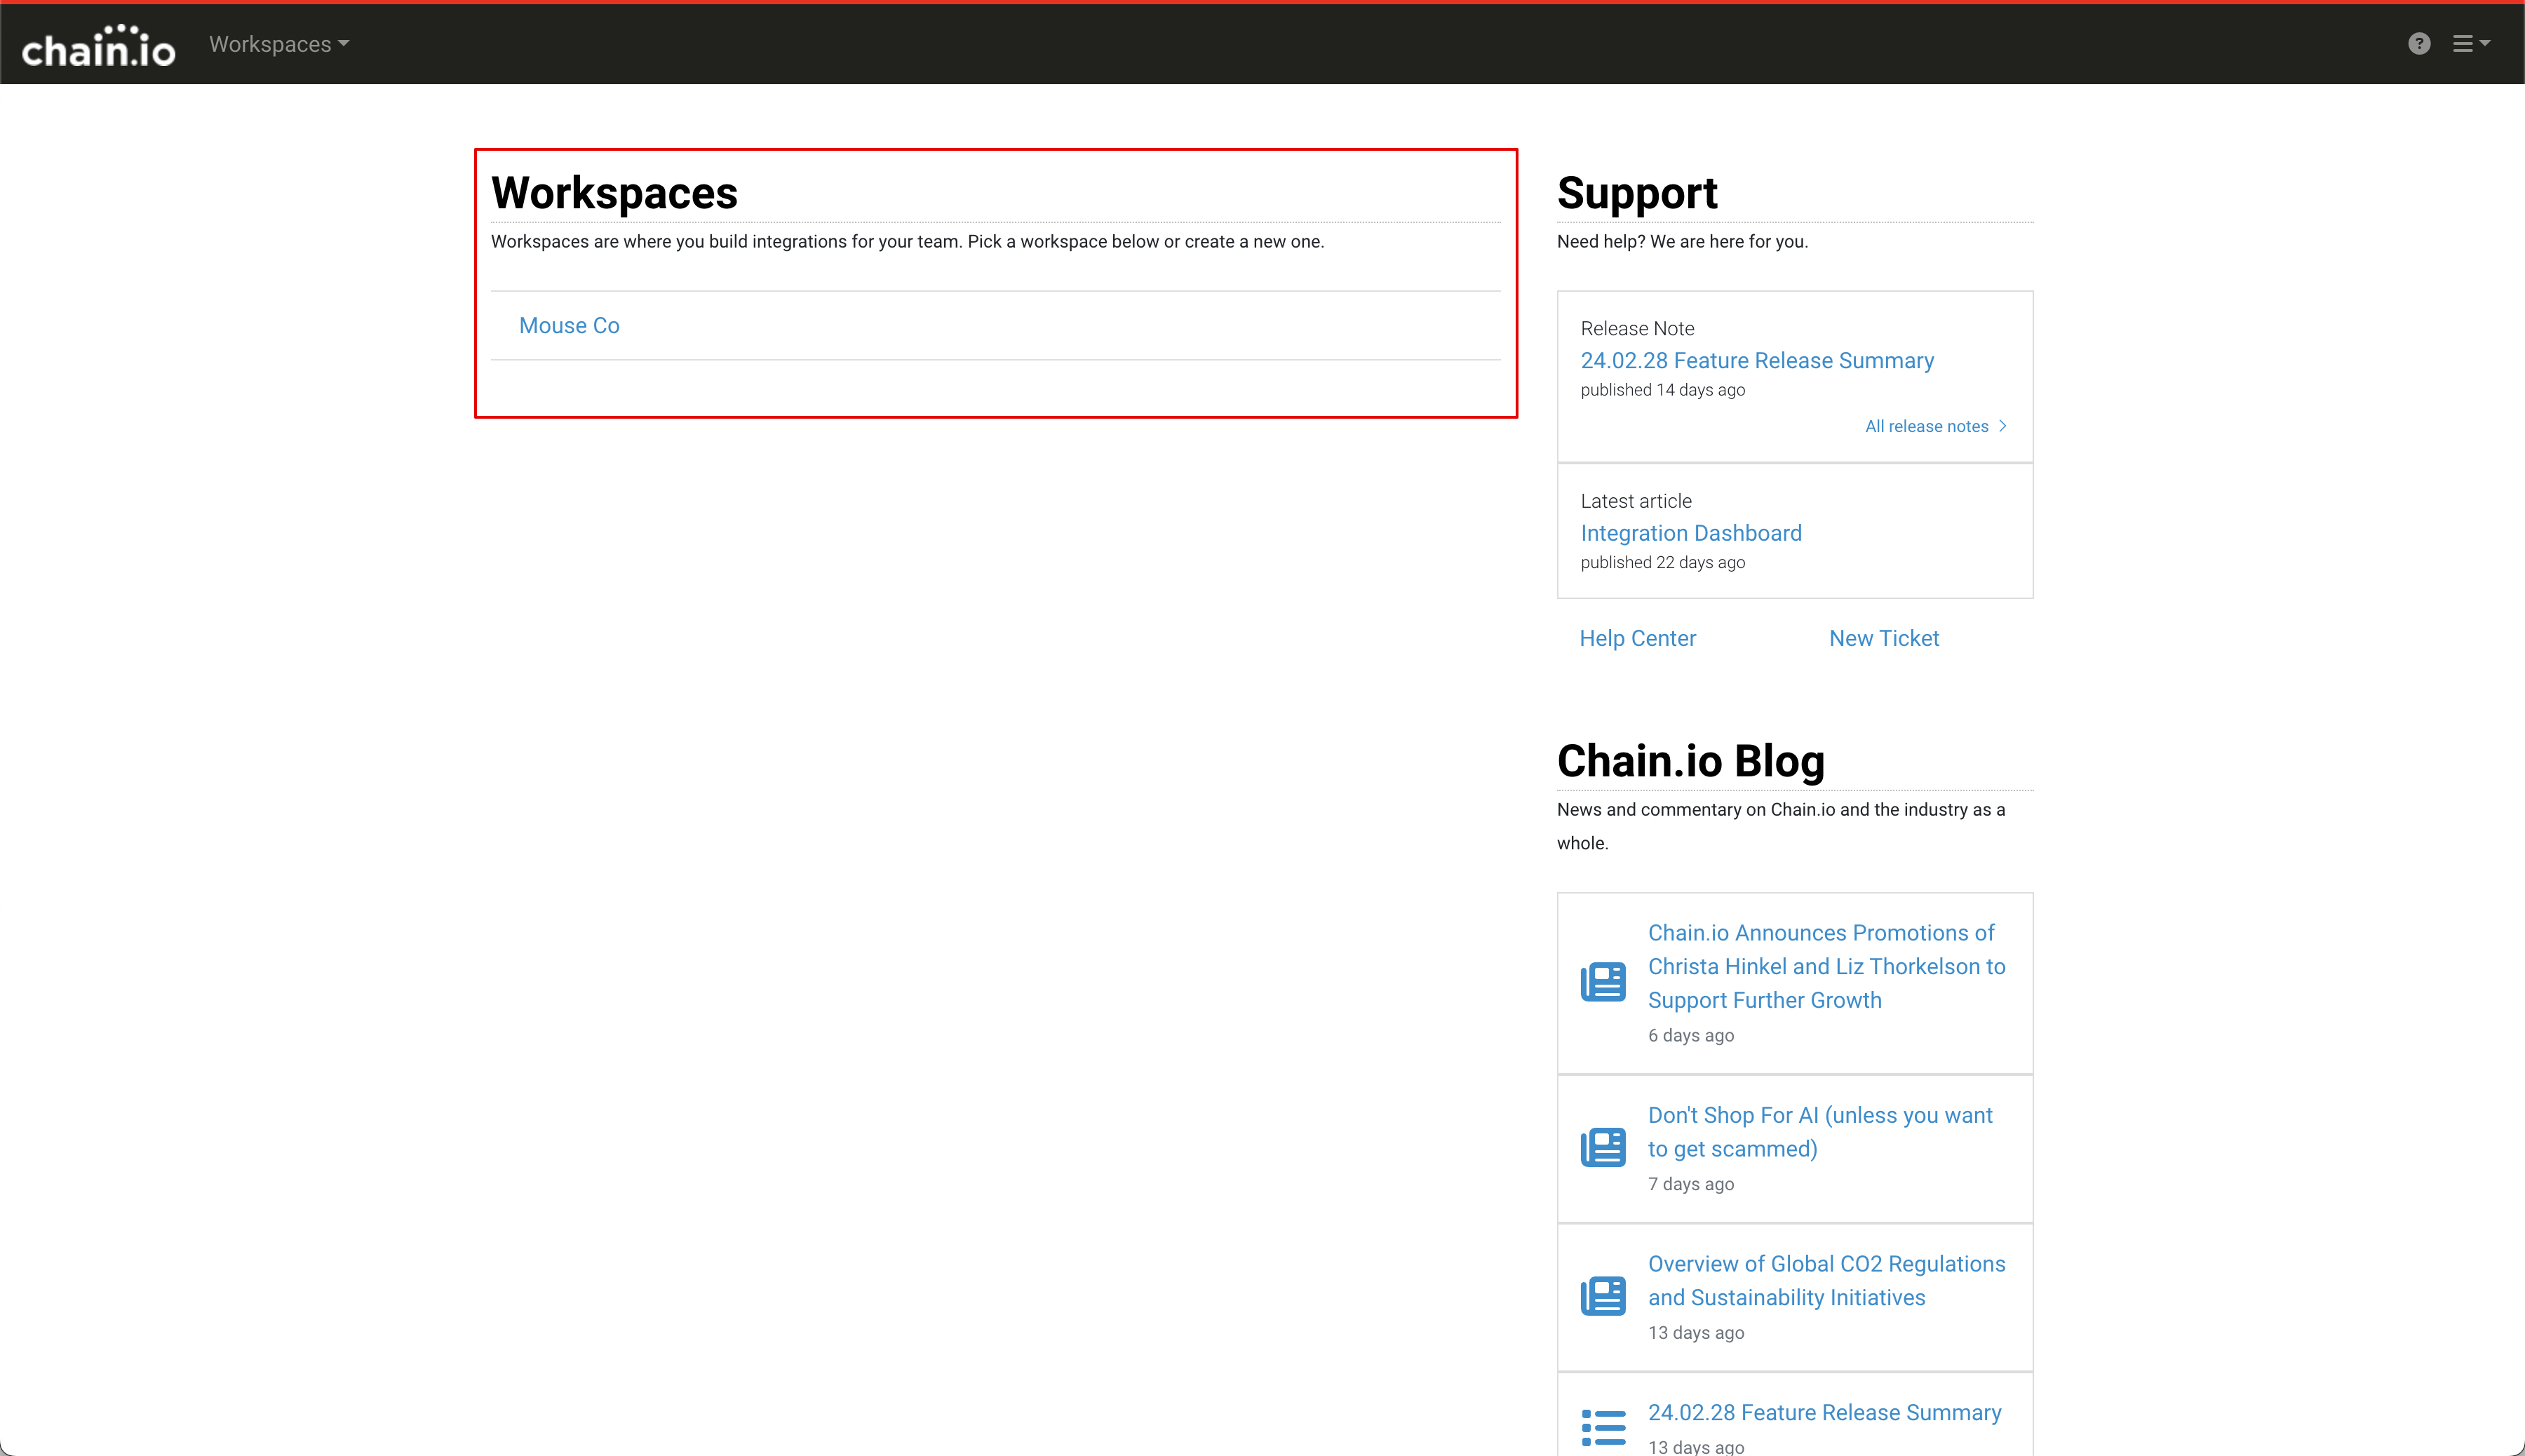
Once you have completed your registration and have logged in, you will see your Workspaces listed
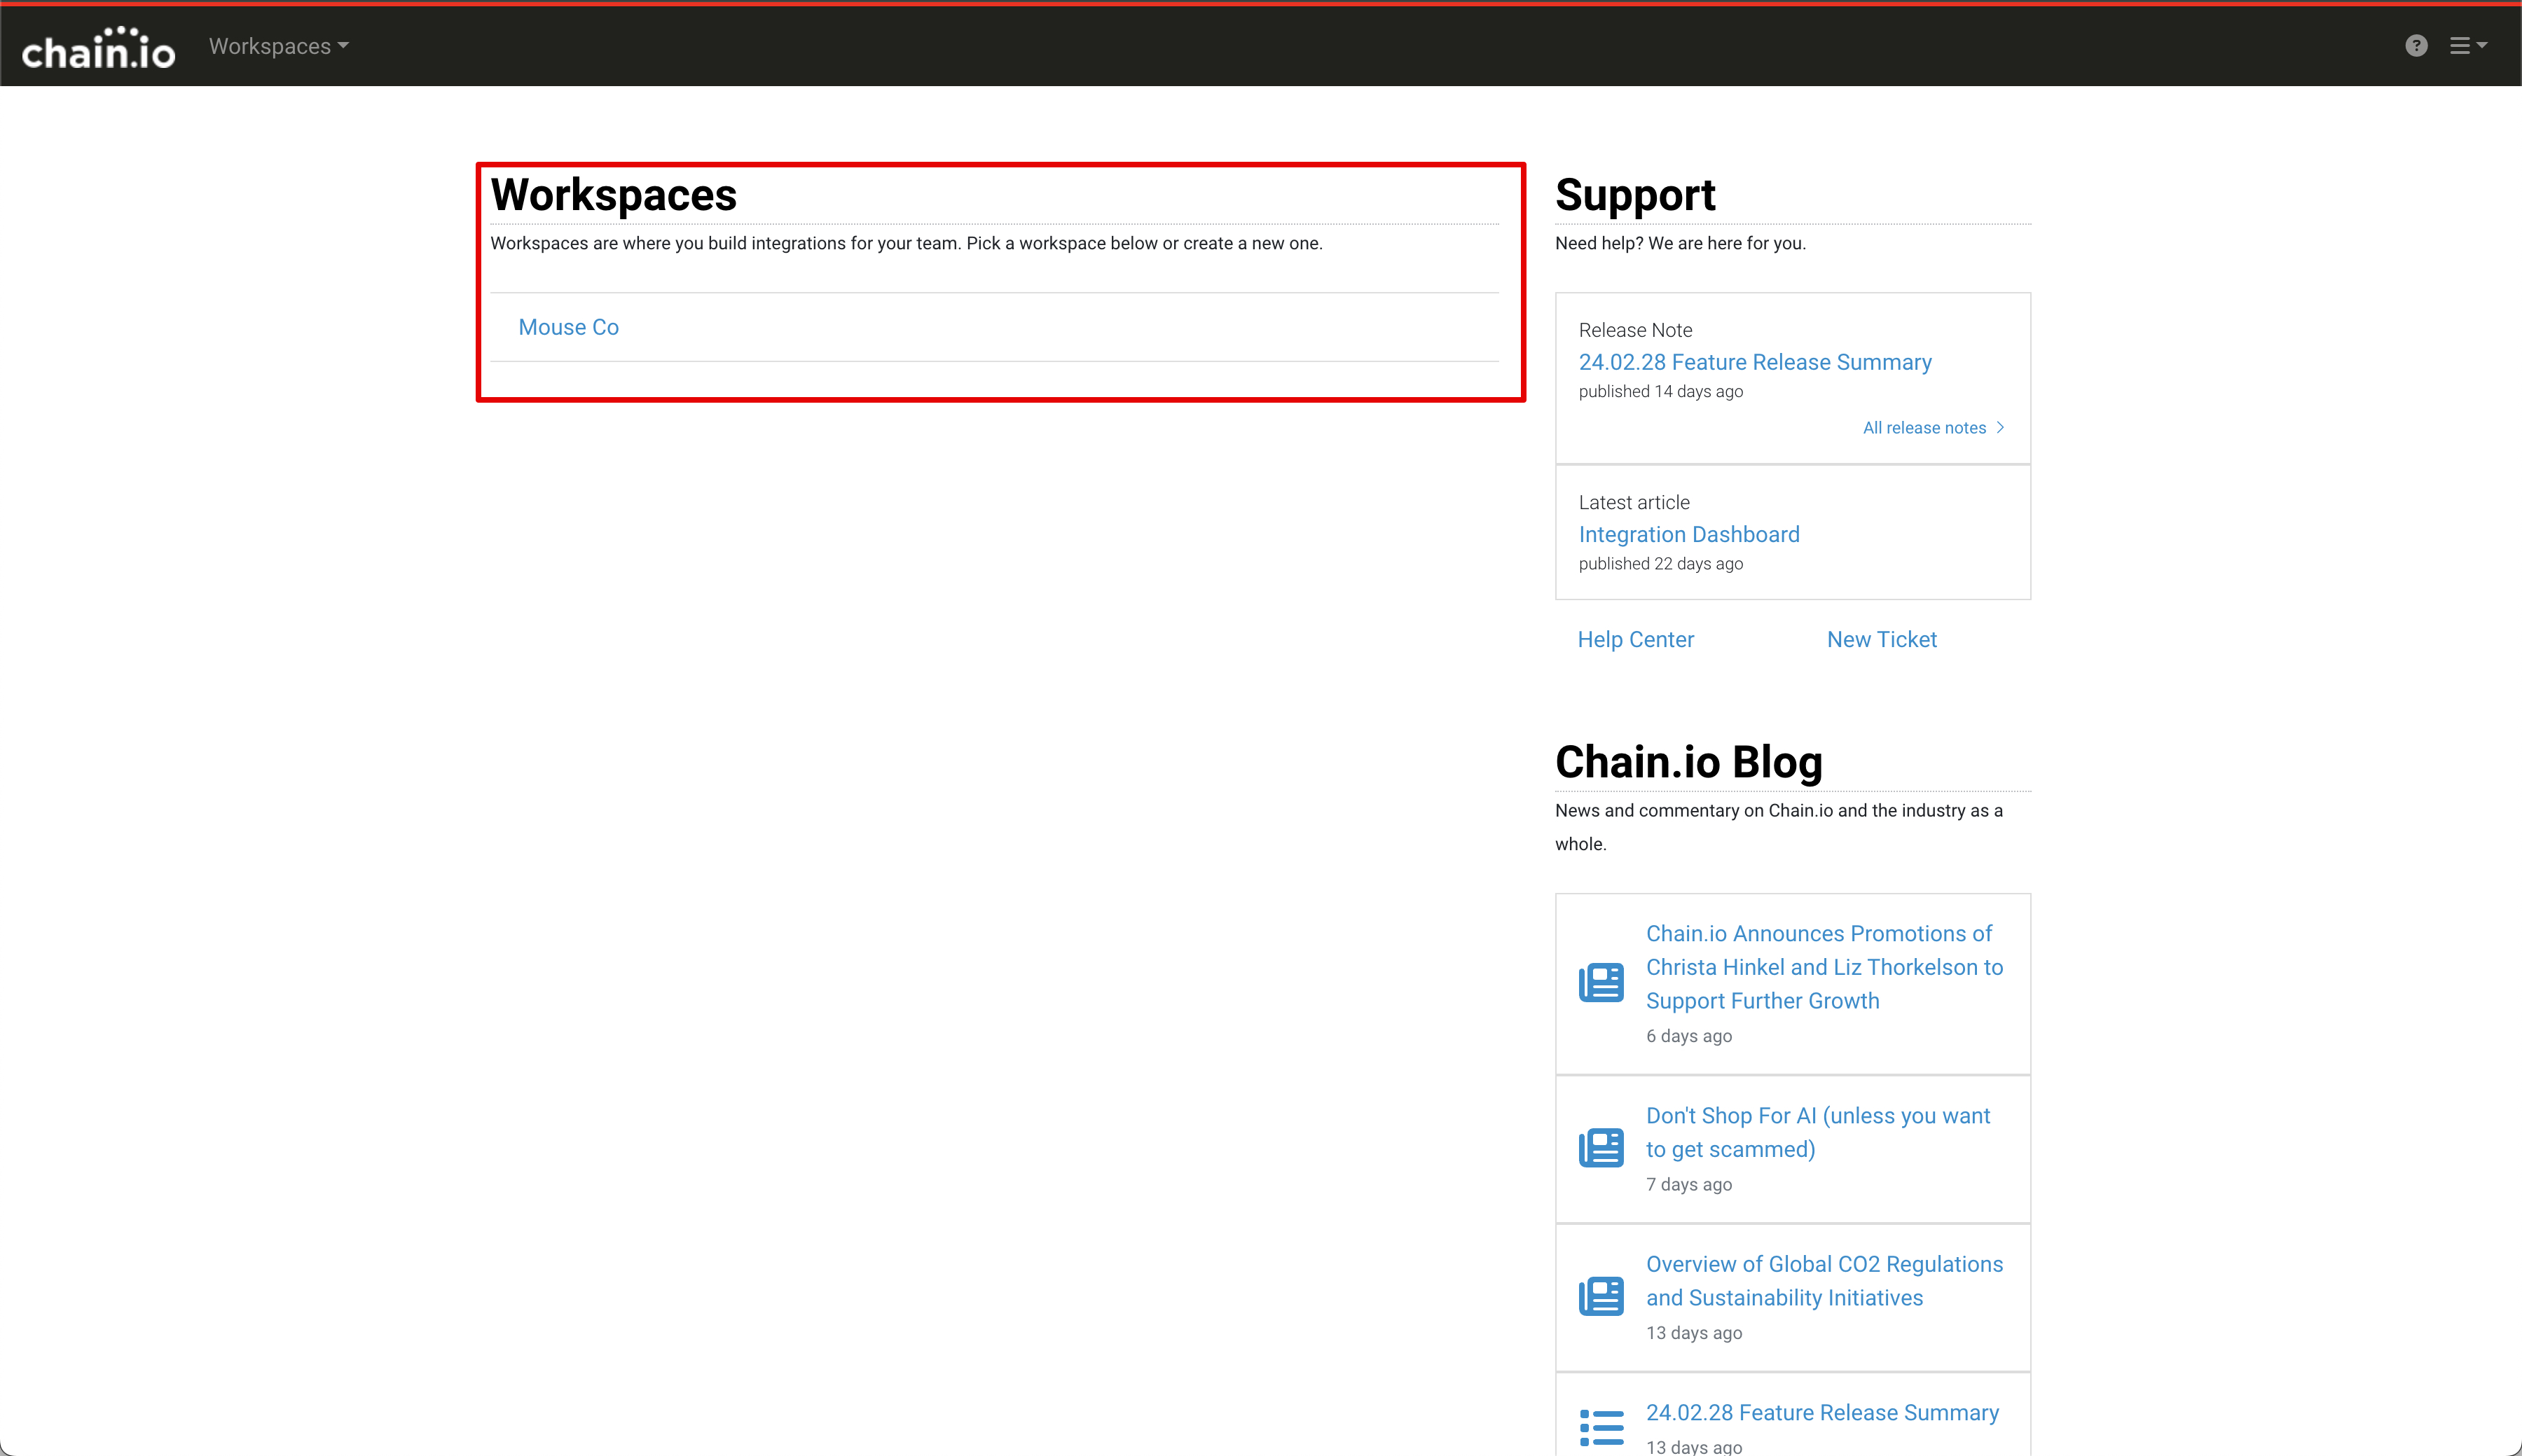
Now that you are in your Workspace, you can begin to add Integrations, Host Systems and other features that will allow you to move and translate data.
Getting Your API Key
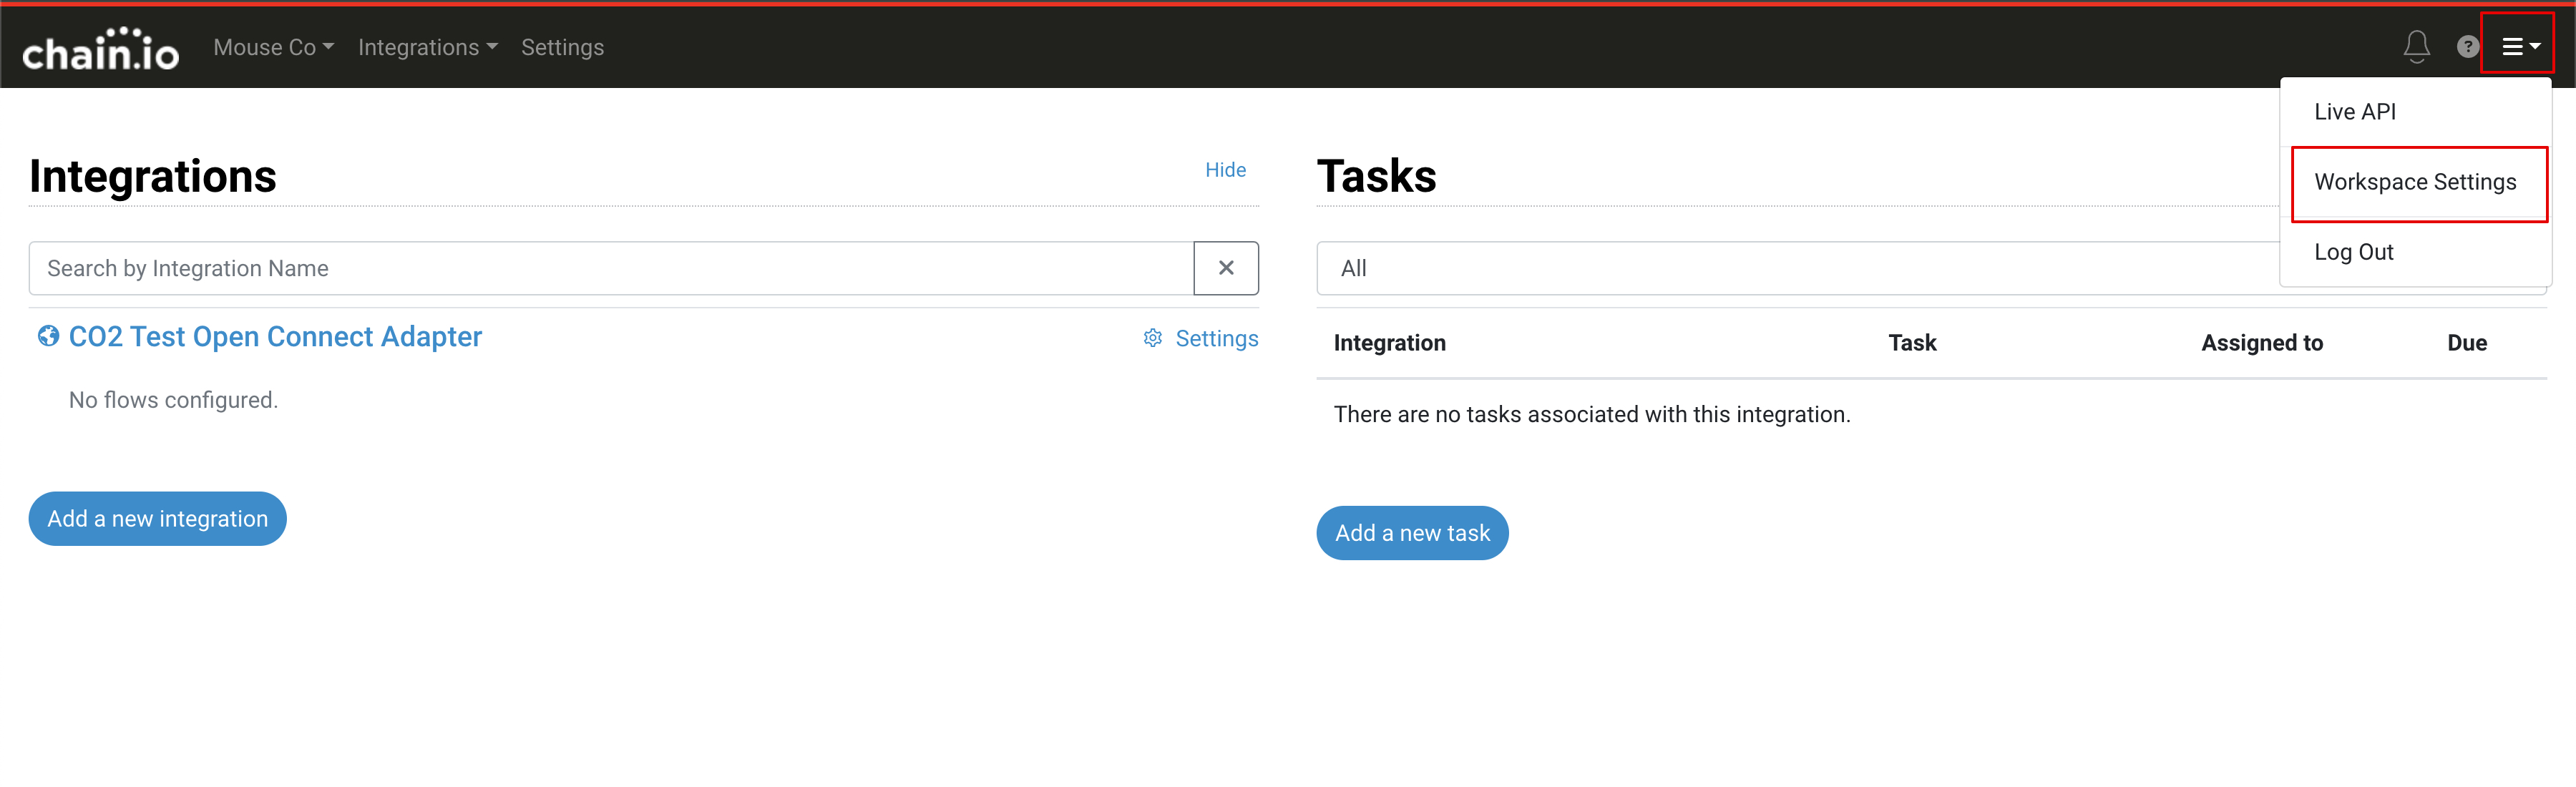
To get your API key, you need to navigate to your Workspace Settings, this can be found by clicking the menu button highlighted below, then clicking Workspace Settings.
Once in Workspace Settings, click on Open Connect API Keys in the Developers section
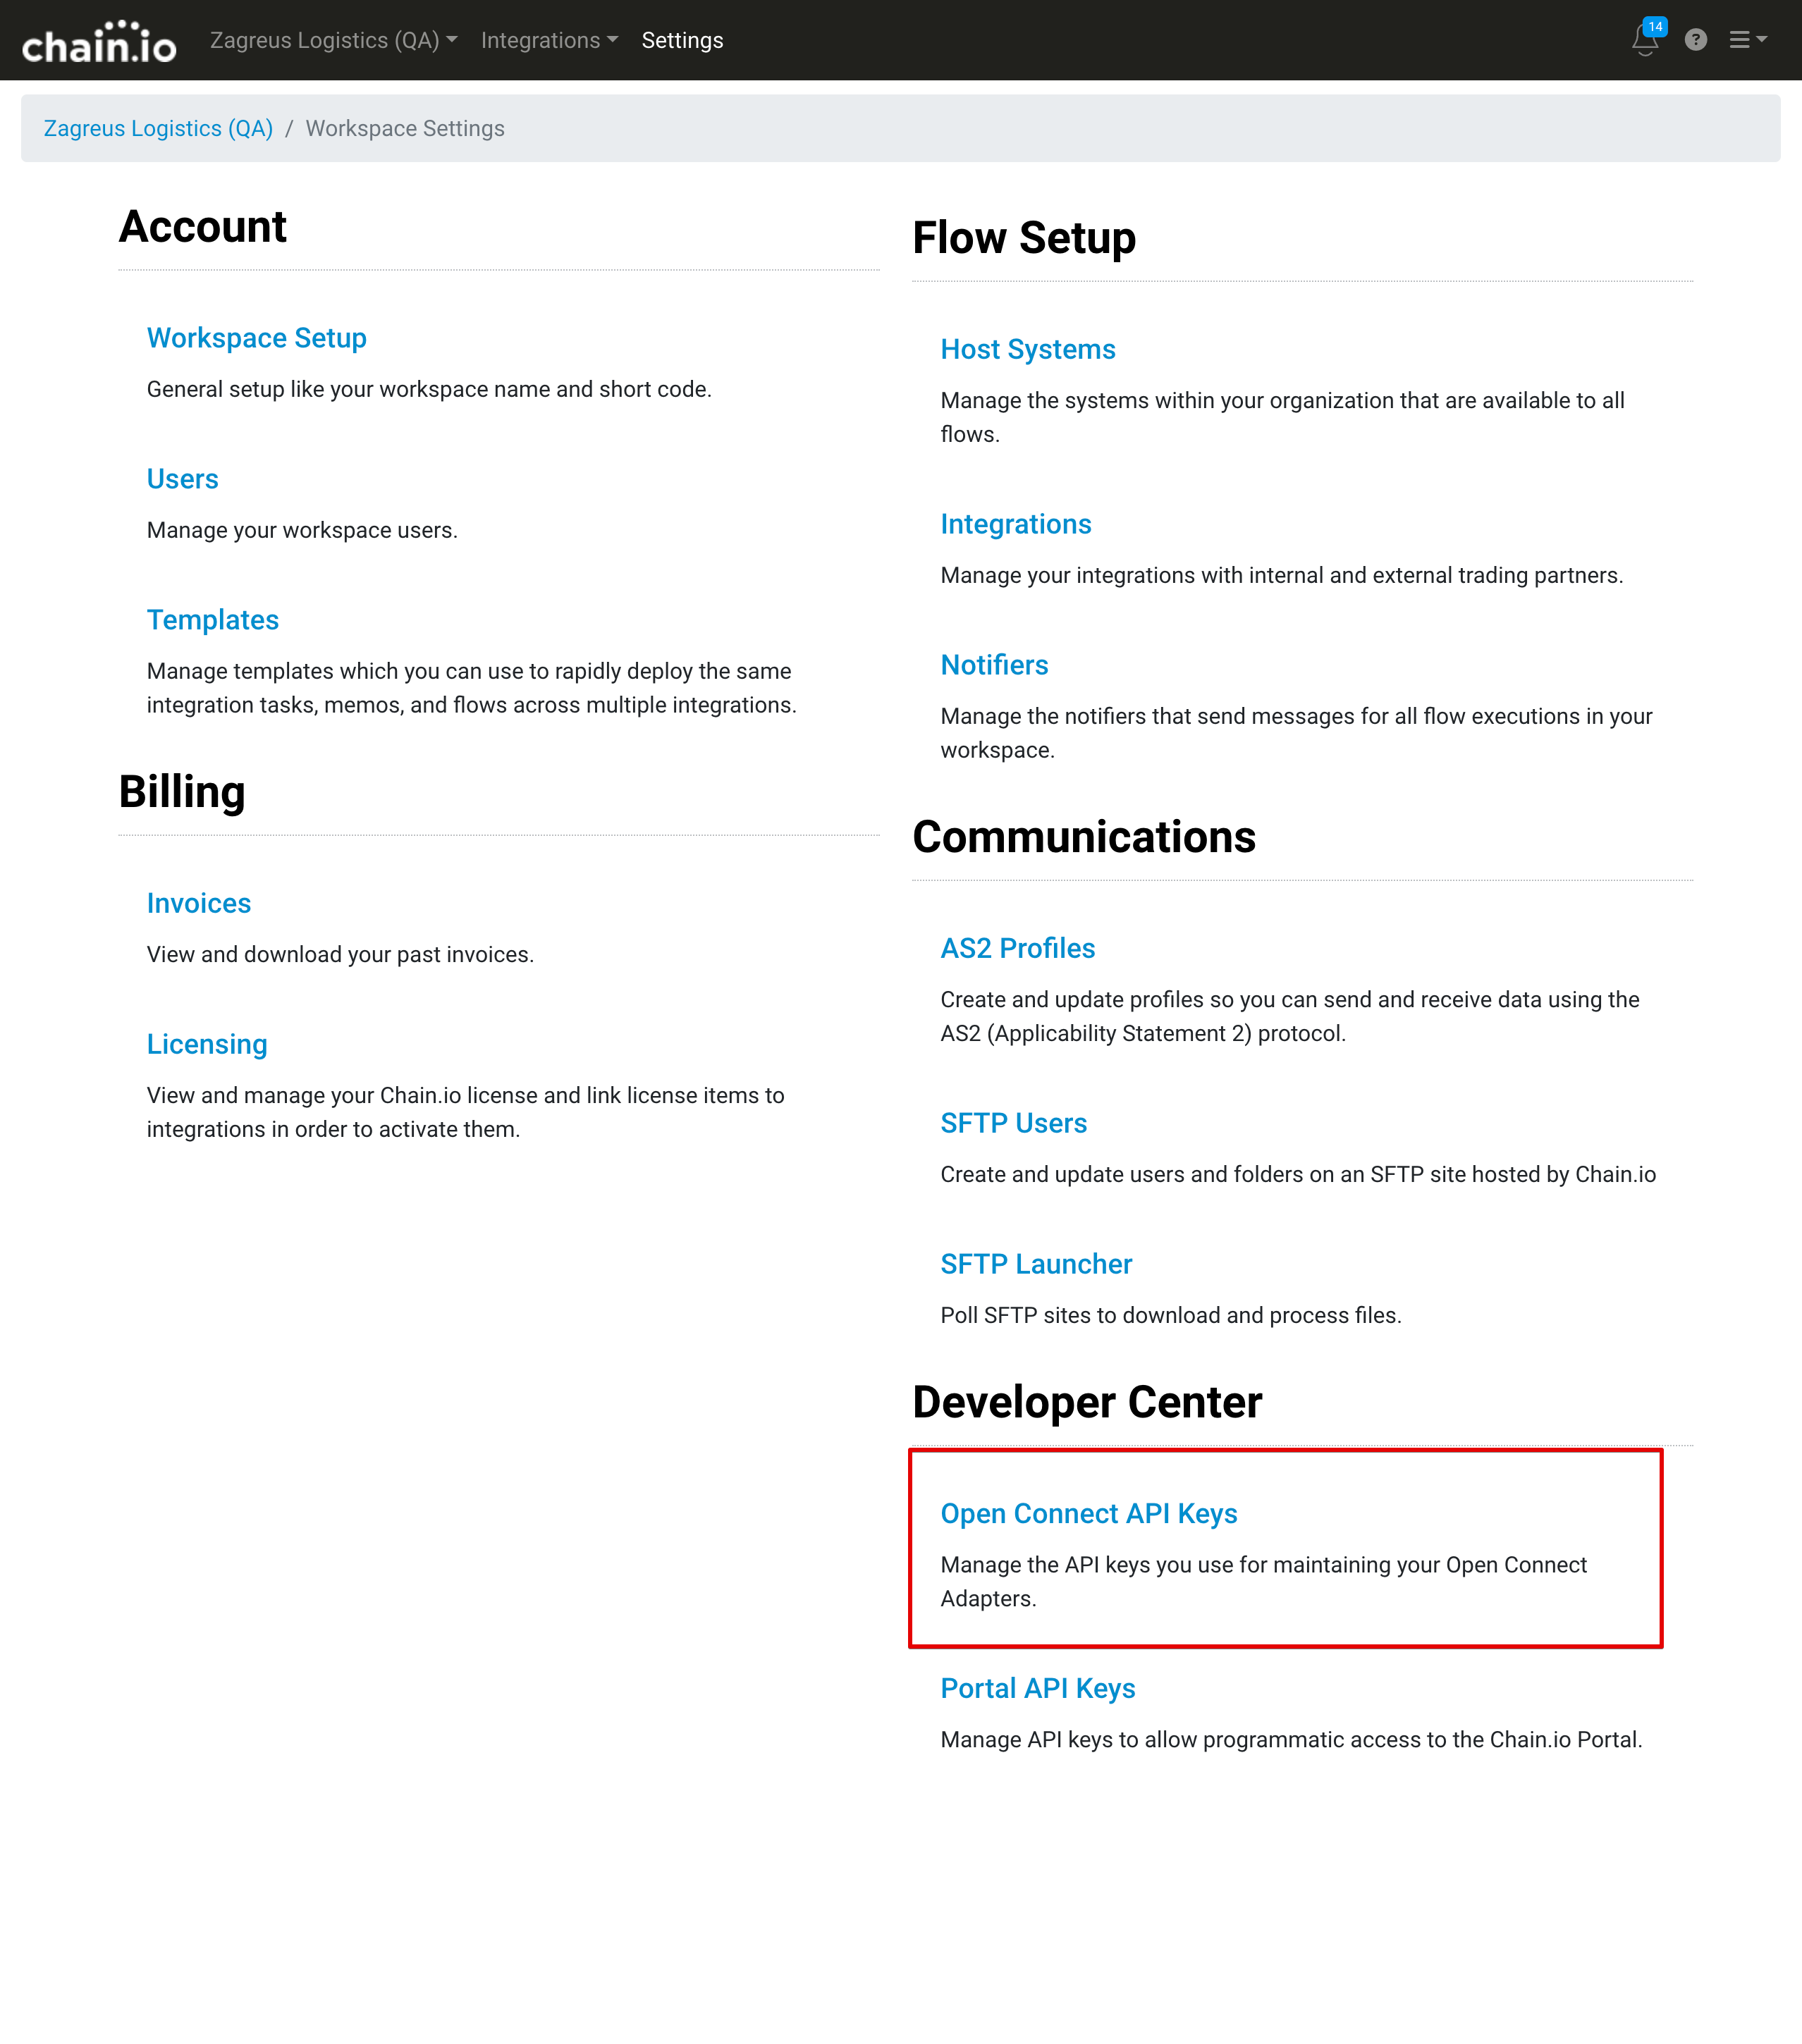
Next, click the Generate New API Key button to generate a new API key.
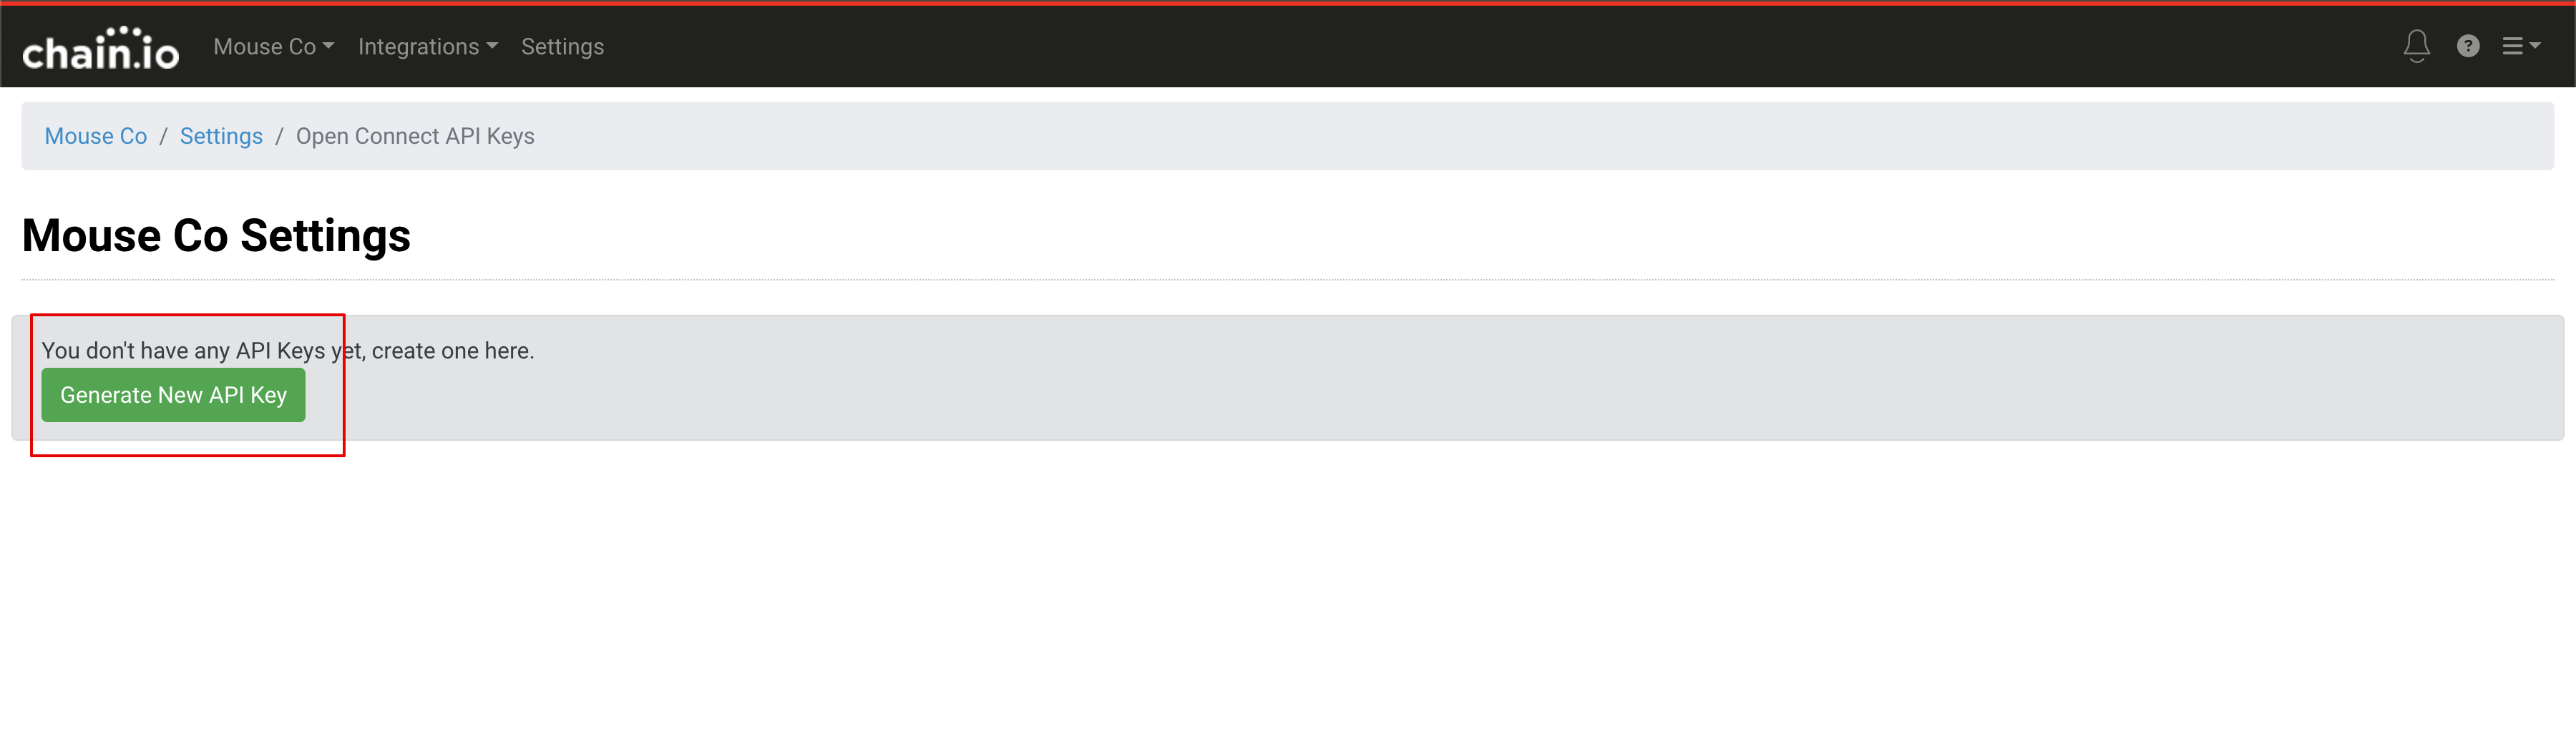
Your key will immediately show up in the table above the button. Clicking the icons next to your API key will display your key and copy your key to the clipboard.
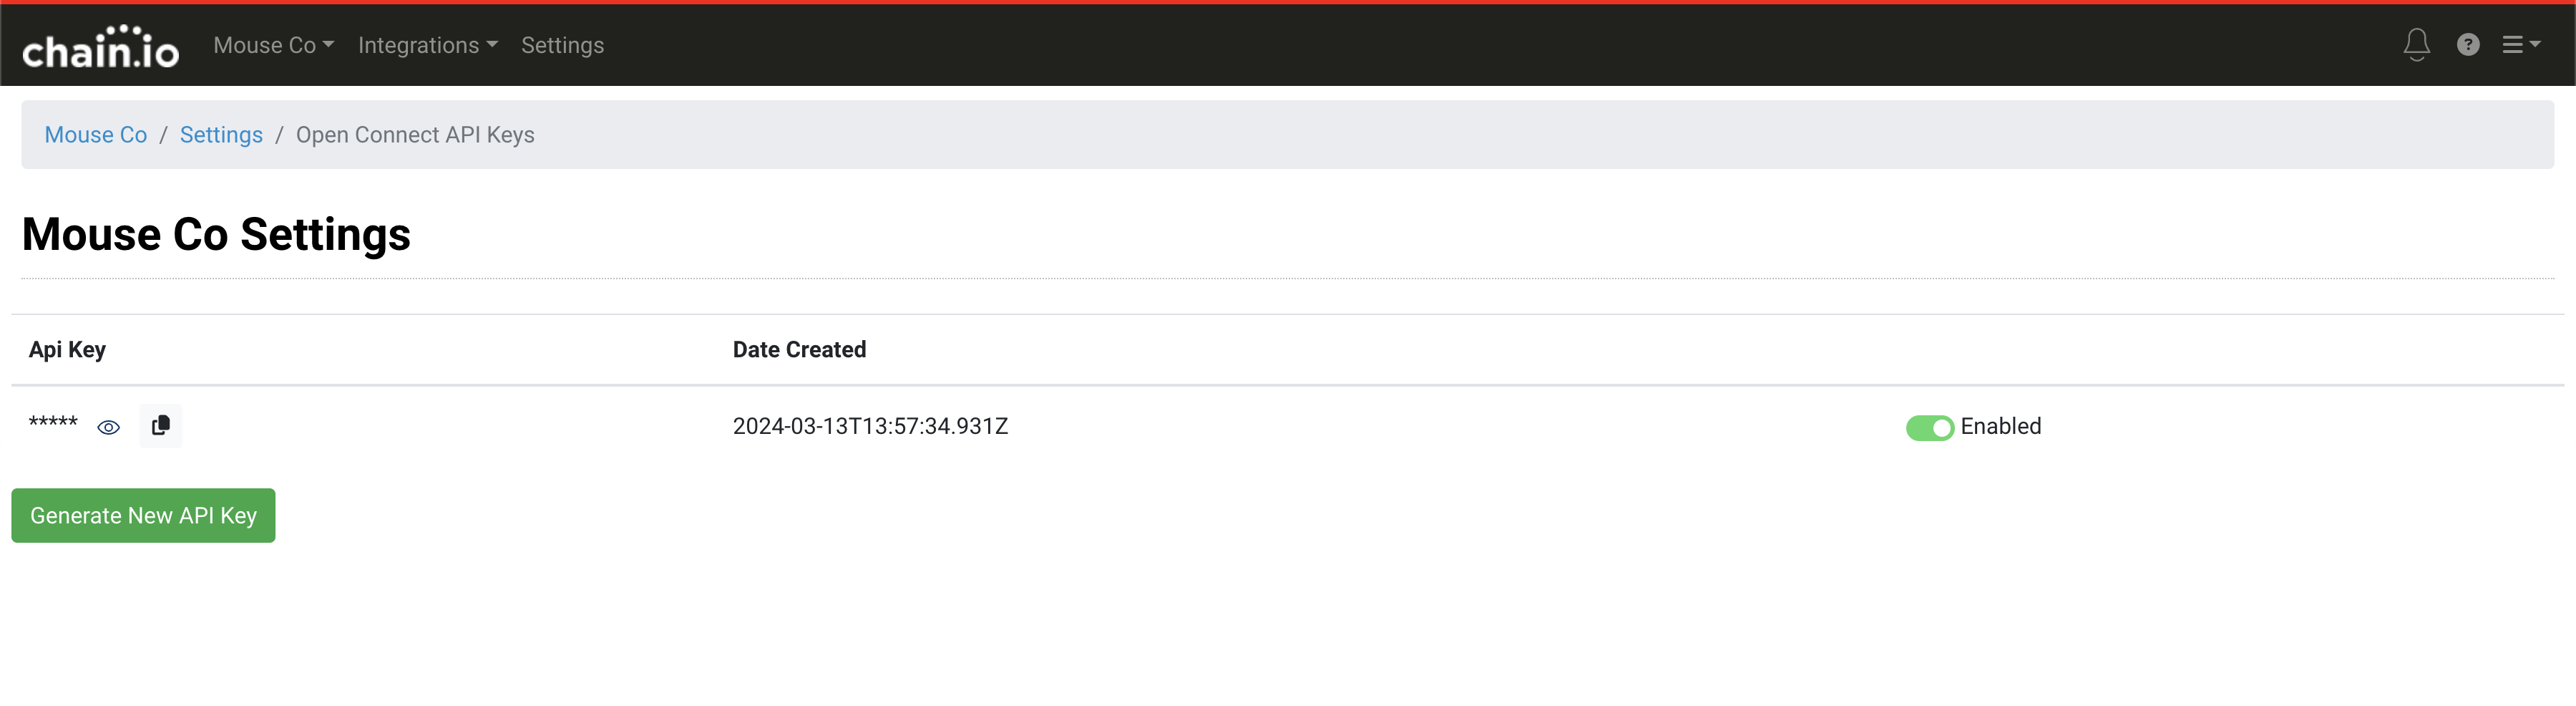
Use this key when creating and registering your new adapter in the next step.
Registering Your Adapter and Initial Submission
With your new key easily referenced you can now register your adapter using the OpenConnect API. Instructions on how to do this can be found here:
To successfully register your adapter it must contain these minimum requirements:
- Integration identifier - This is the type of Chain.io Integration your adapter will be used in. This is important because it establishes where the adapter will be found within the Chain.io portal. The available options are:
- co2.register_shipment
- co2.receive_co2_update
- acctAuto.send_organization
- acctAuto.send_job
- carrOps.send_booking
- A Display Name - The name that is displayed when users see your adapter in the Chain.io portal
- A Display Description - The description that is displayed when users see your adapter in the Chain.io portal
- A Webhook URL - This is the URL that Chain.io should be sending requests to in order to invoke or call your adapter.
- Your Shared Secret - The shared secret that Chain.io should utilize when signing requests sent to your webhook url.
To see your adapter and test it you need to set up an Integration and Flow within the Chain.io portal that is directly related to the Integration type you identified in your adapter registration above.
Testing Your Adapter
Log in to the Chain.io portal at https://portal.chain.io/ and select your Workspace.
Next, click the Add New Integration button.
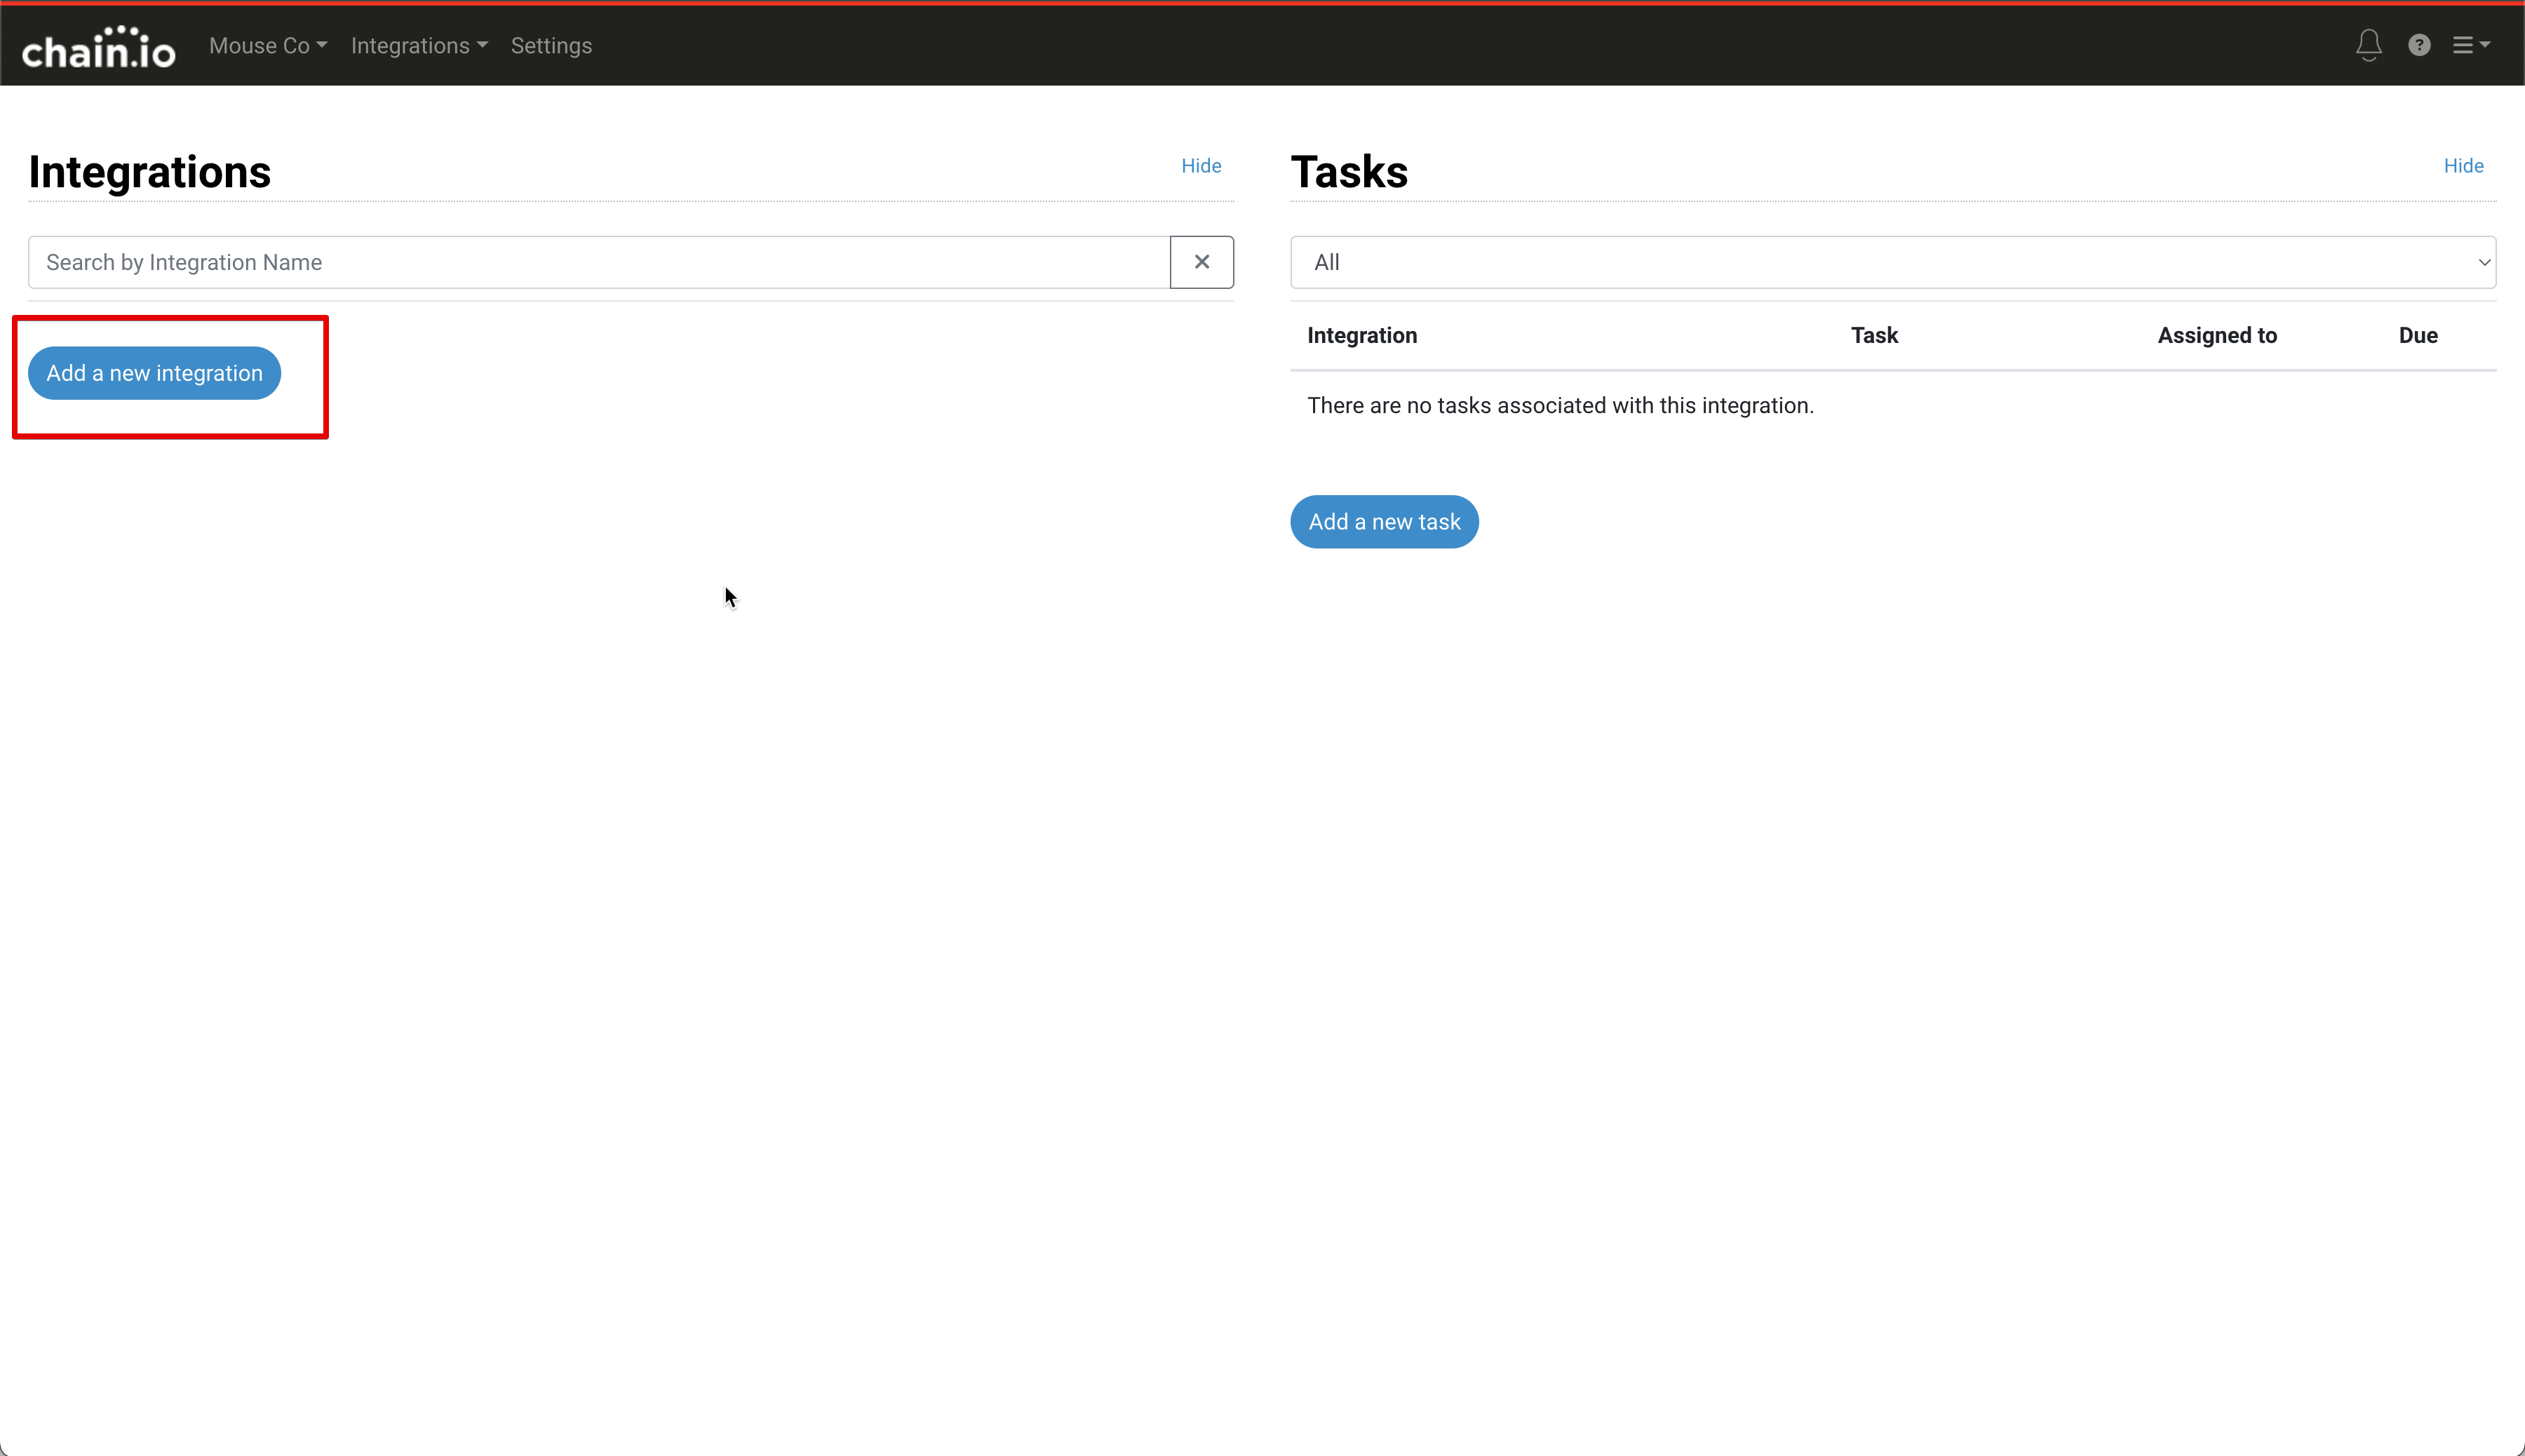
On the following screen you will be asked to name your Integration, write a description and select your Integration type.
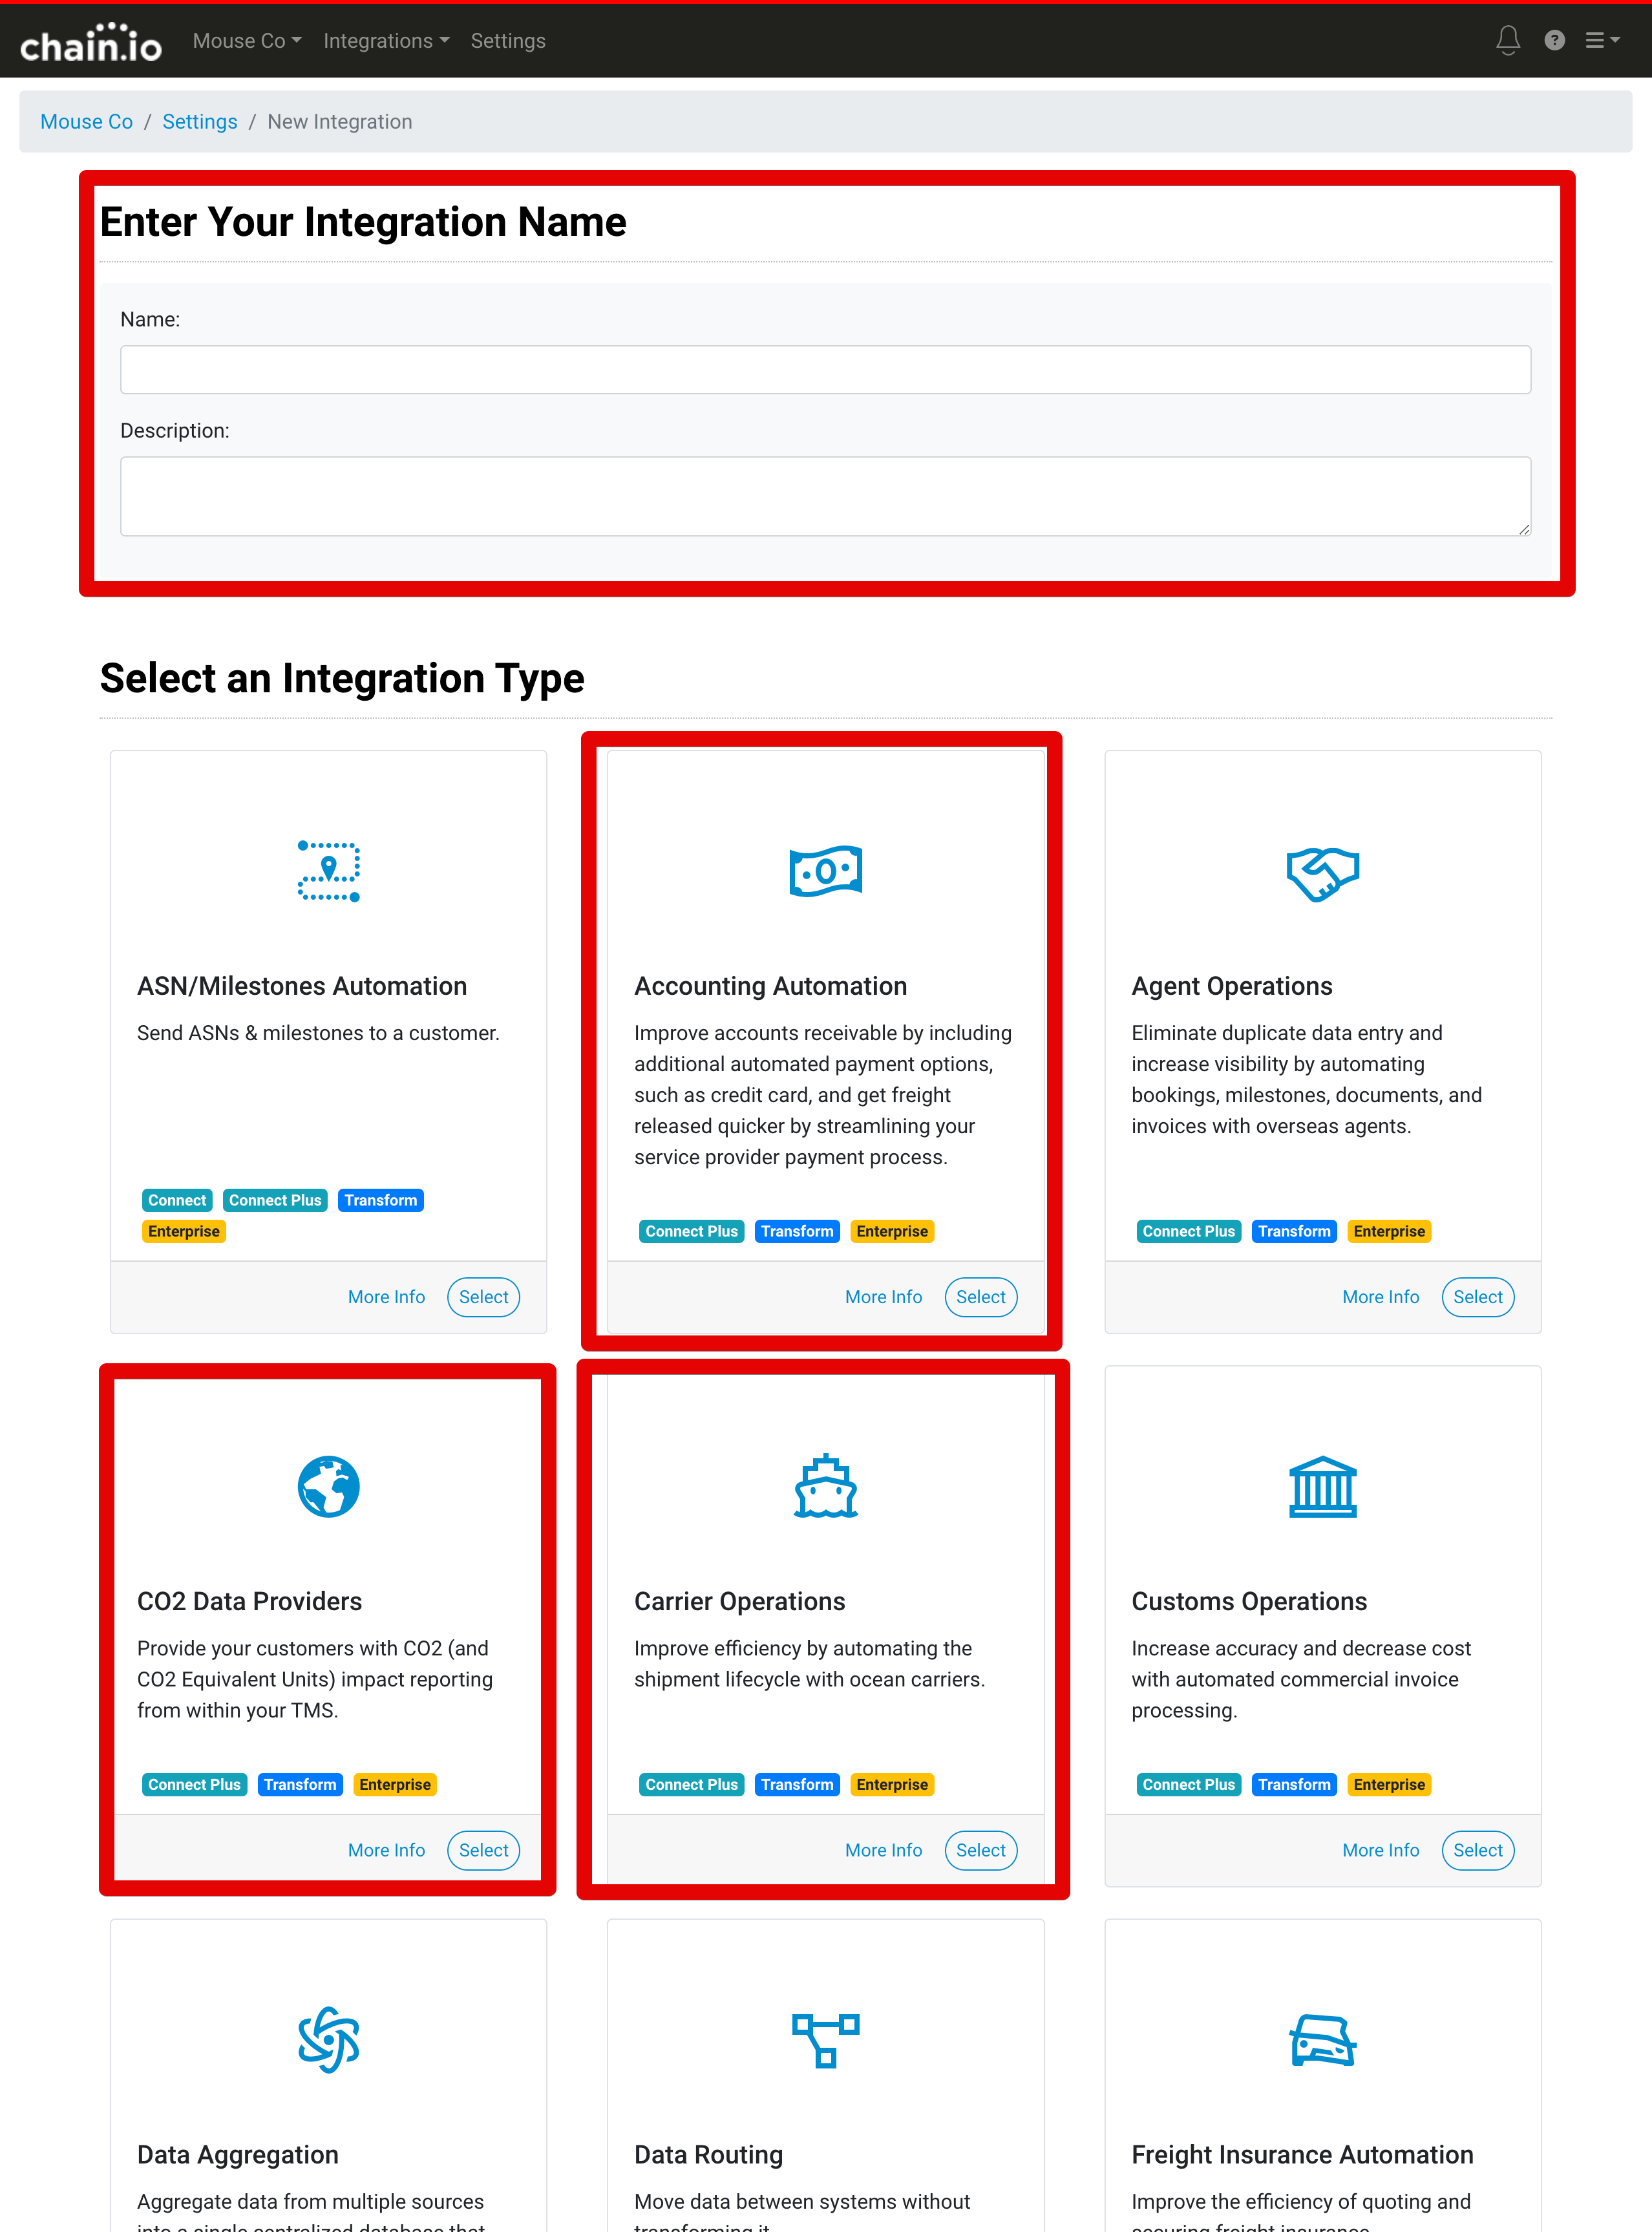
As outlined before, the integration type must relate to your Integration Identifier which you defined in your adapter registration. These relationships can be viewed below
| Integration Type | Integration Identifier |
|---|---|
| CO2 Data Providers | co2.register_shipment |
| CO2 Data Providers | co2.receive_co2_update |
| Account Automation | acctAuto.send_organization |
| Account Automation | acctAuto.send_job |
| Carrier Operations | carrOps.send_booking |
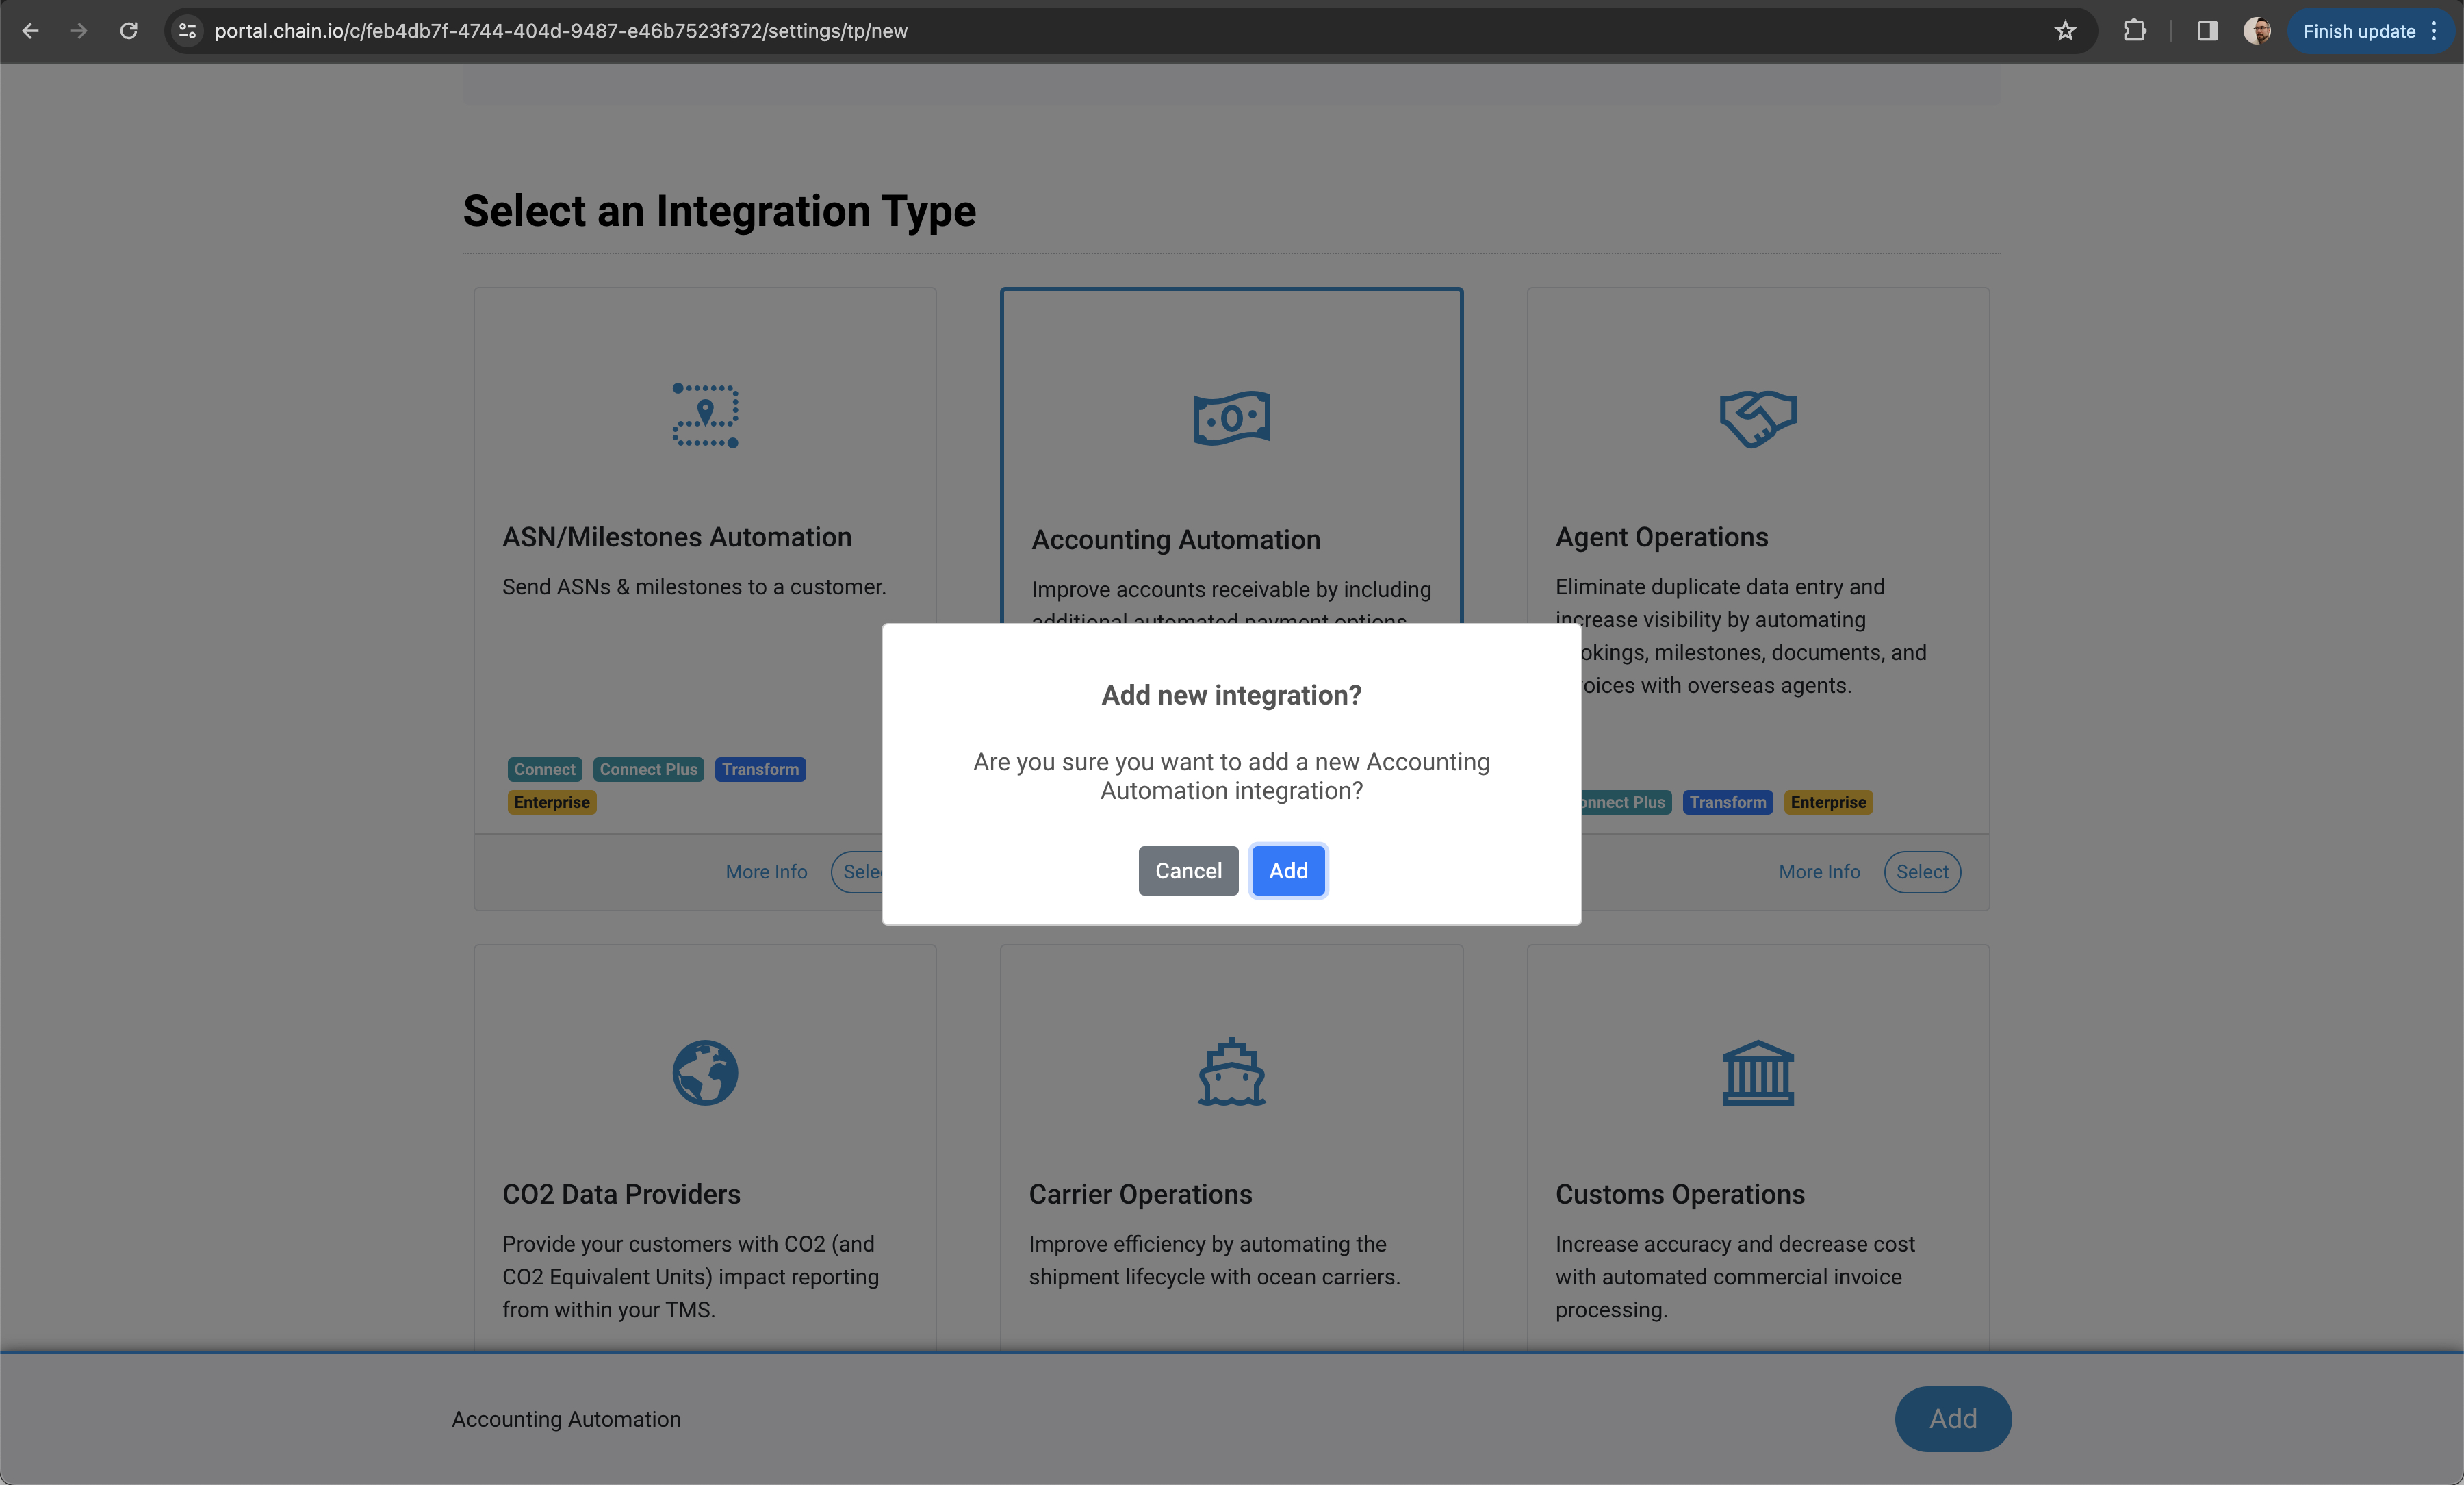
When you have selected your Integration type, click Add, then confirm the creation of this Integration.
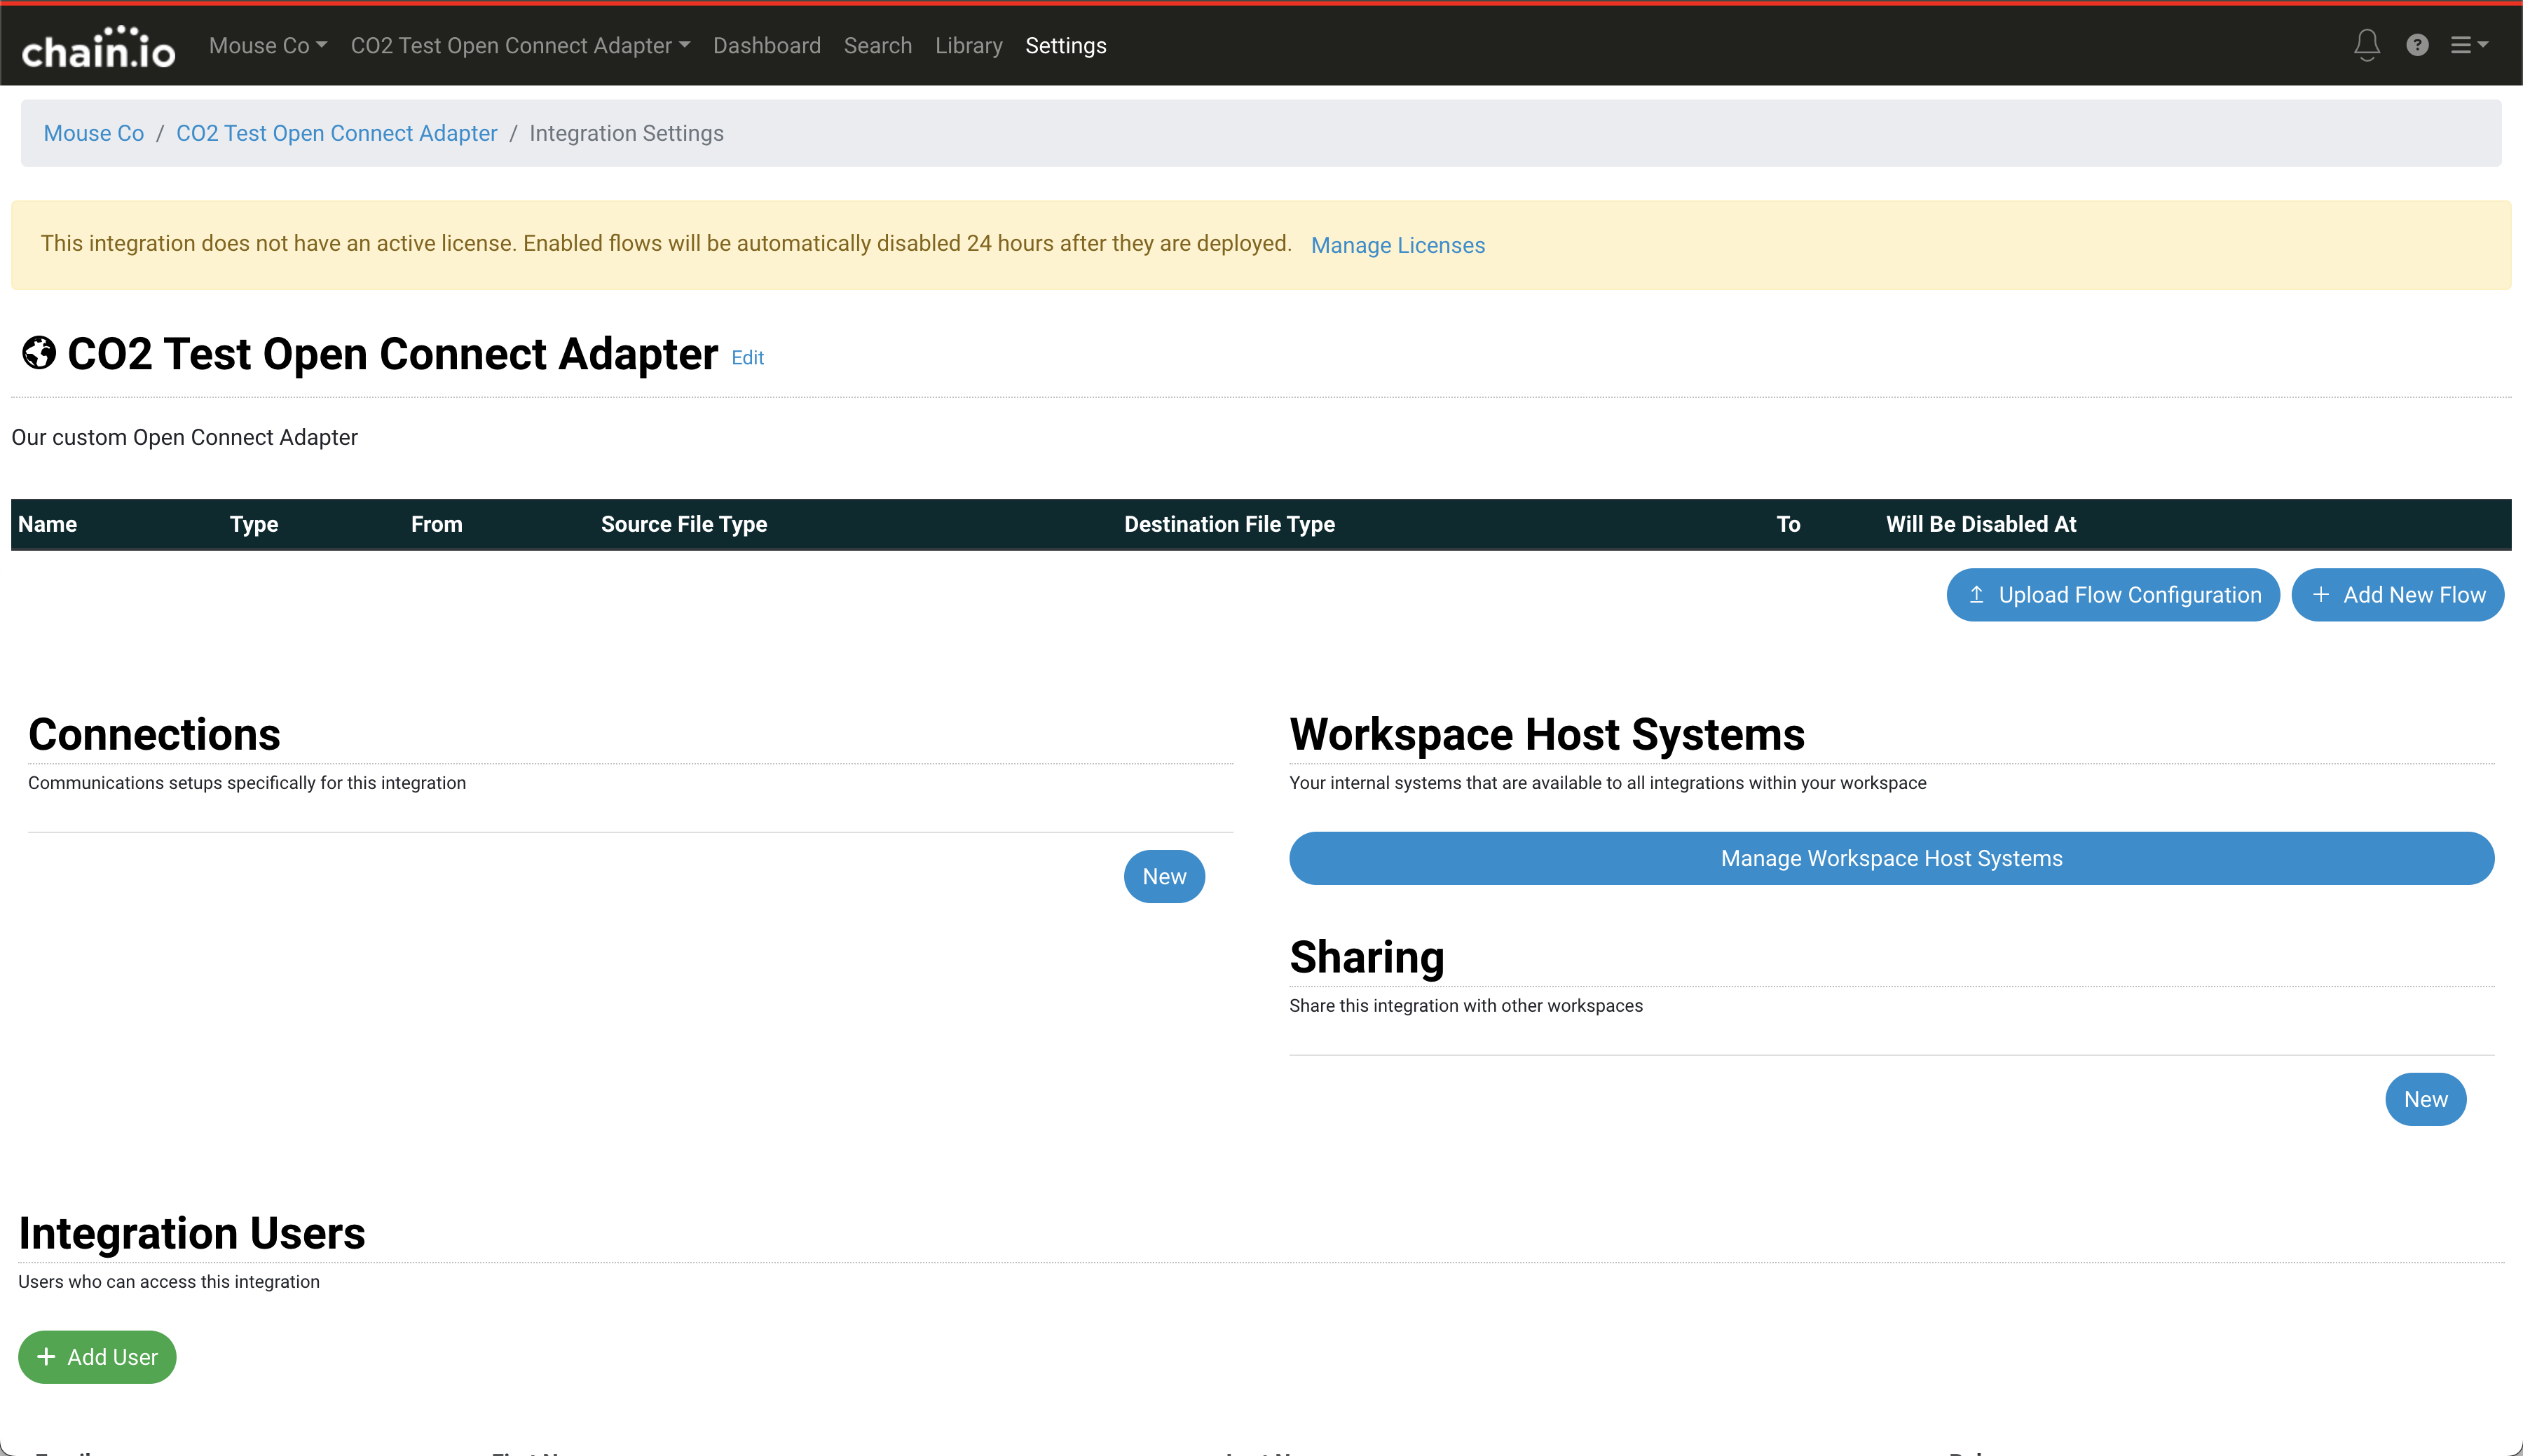
Once you have confirmed you will be brought to your Integration Setup view. Here is where we will set up the Flow to test your Open Connect adapter. Click the Add New Flow button to get started.
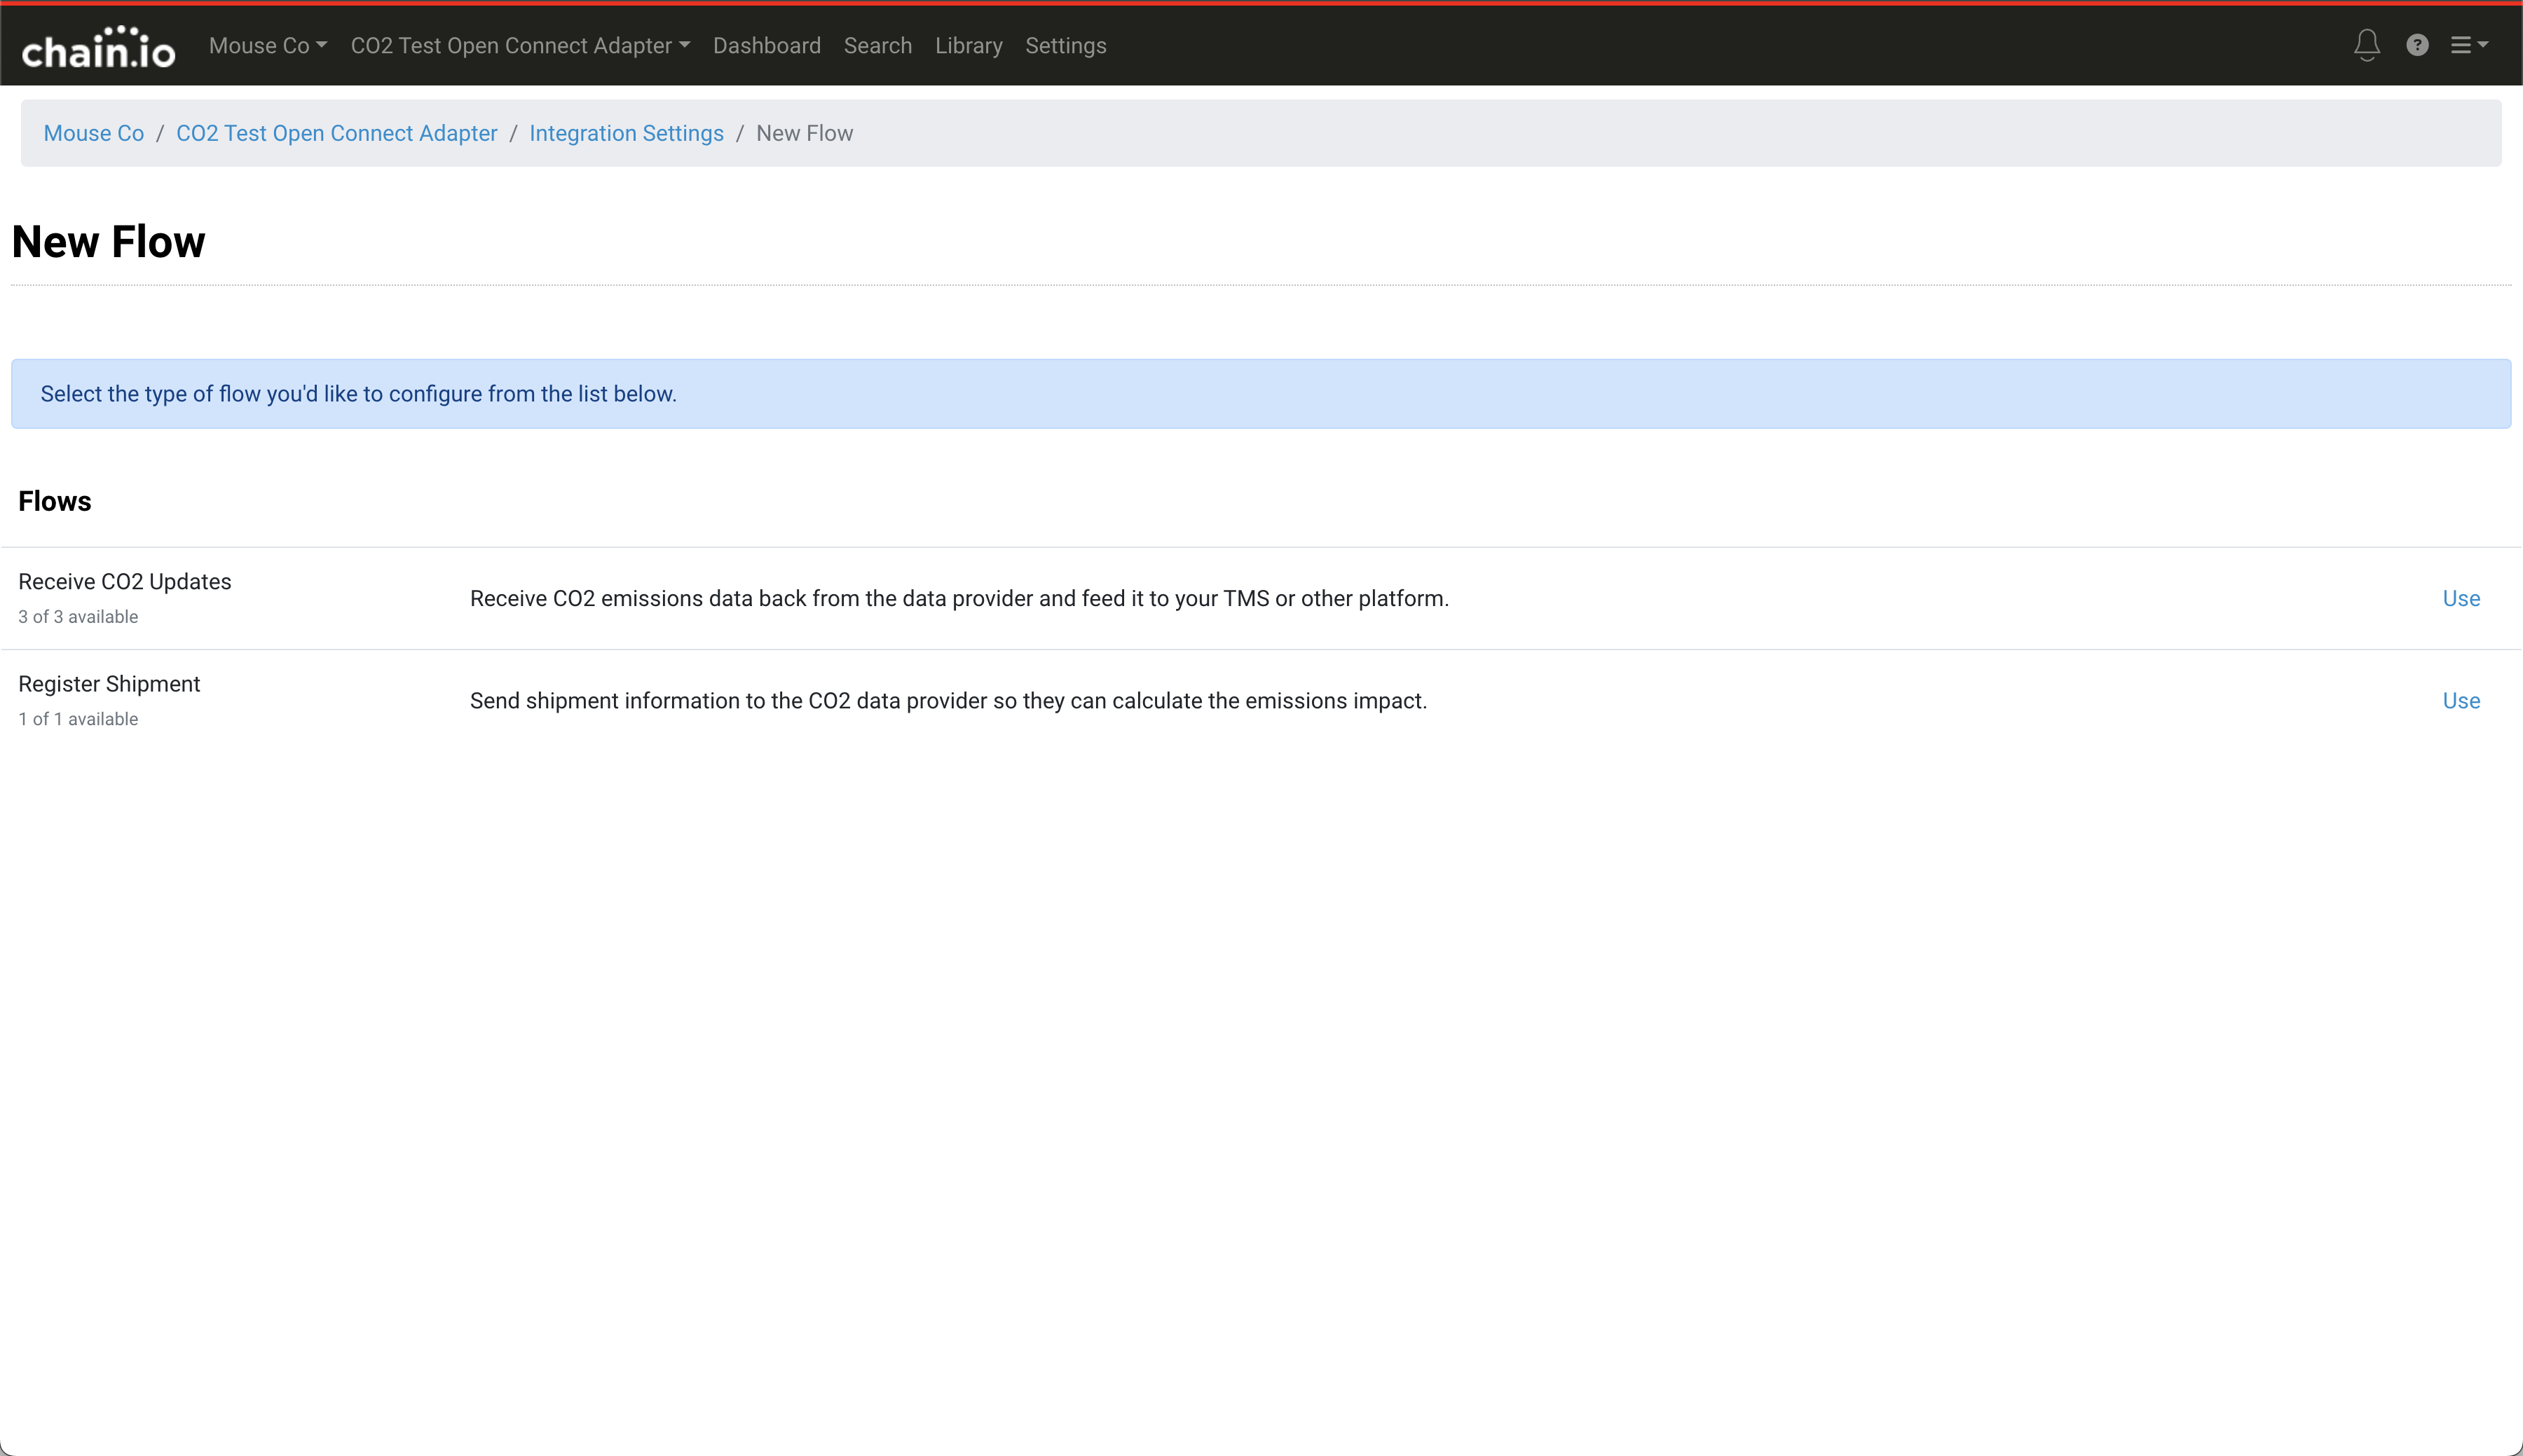
In the next screen you will see a list of Flows depending on your Integration type you will get a list related to that Integration. For example, if you are setting up a CO2 Data Providers integration for your adapter, you would need to select a Register Shipment Flow or a Receive CO2 Updates Flow as displayed in this example.
For more information about creating Flows your can refer to our product documentation:
Once you have successfully registered your adapter please send an email to [email protected] with the following information:
- Name of your Workspace
- Your adapter Display Name
- Your adapter Description
- Your Integration Name
- Your Integration Type
We will review this email and hold your adapter as private until you have completed testing.
Publishing your Adapter
If you have completed development of your adapter and have tested it within the Chain.io portal using a Flow within an Integration you will need to contact Chain.io to have your adapter reviewed and approved for publication.
Before you request Adapter approval please be sure you have the following information provided in your Adapter:
- Full Name(personal)
- Contact Information
- Phone
- Company/developer name
- Company/developer address
- Validated support URL
- Validated and accessible Adapter icon
Please be sure you have this information within your Application in order to submit for publication or it will be rejected.
Once you have this information in place you should send an email to [email protected] with the subject line: ADAPTER APPROVAL - [Adapter Name]
When we receive the email a member of the Chain.io development team will review your adapter and confirm within 24 hours of receiving the email that your adapter has been approved or needs adjustment.
Updated about 1 year ago